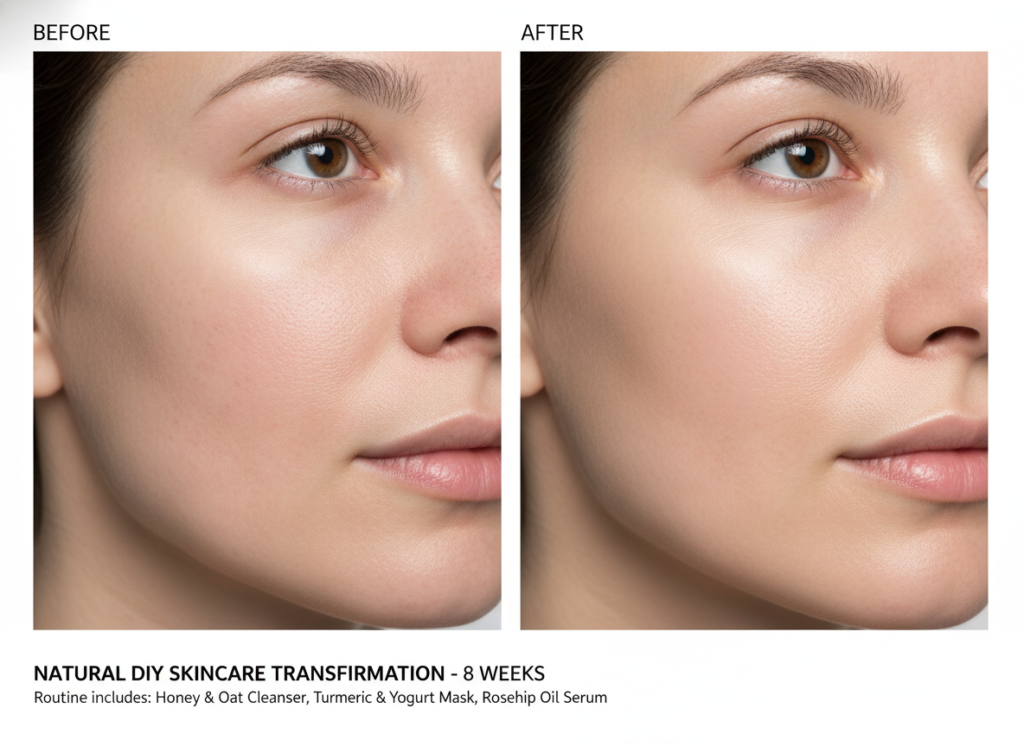
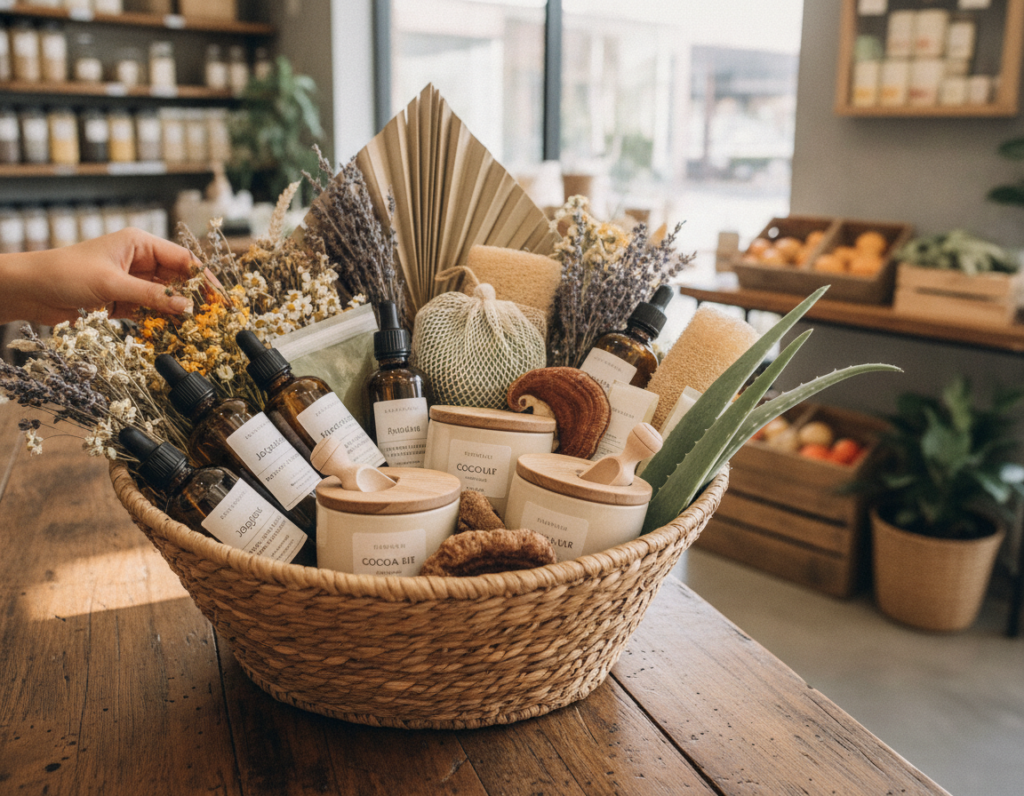
Your skin deserves the best care possible. Many commercial beauty products contain harsh chemicals that can irritate sensitive skin. Natural DIY skin care recipes offer a safer alternative.
Making your own skin care products at home gives you complete control. You know exactly what goes on your skin. Plus, homemade recipes cost less than store-bought versions.
This guide shares proven DIY skin care recipes using simple ingredients. You will learn how to create effective treatments for various skin needs. Each recipe uses natural components you can find easily.
From nourishing body butter to refreshing face masks, these recipes deliver results. Your journey to glowing skin starts with understanding what your skin truly needs. Natural ingredients work with your body rather than against it.
Ready to Transform Your Skin Care Routine?
Discover a comprehensive natural skin care system that takes the guesswork out of DIY beauty. Get professional formulations and step-by-step guidance.
Creating your own skin care products brings numerous advantages. You gain control over every ingredient that touches your skin. This matters especially if you have sensitive skin or allergies.
Natural skin care products work gently yet effectively. They do not strip your skin of essential oils. Instead, they nourish and protect your body naturally.
Here are the key benefits of making DIY skin care recipes:
Complete ingredient transparency – know exactly what you apply
Cost savings compared to luxury beauty products
Customization for your specific skin needs
Reduced environmental impact from packaging
No harsh chemicals or synthetic fragrances
Fresh formulations without preservatives
Fun creative process you can enjoy
Many people love making their own beauty products at home. The process becomes enjoyable once you understand basic techniques. You can experiment with different oils and ingredients to find what works best.
Natural ingredients provide vitamins and nutrients your skin craves. Coconut oil moisturizes deeply while aloe vera soothes irritation. These components have been used for centuries in traditional beauty rituals.
When you make small batches, products stay fresh longer. You avoid preservatives that extend shelf life but may cause skin reactions. Fresh formulations deliver maximum potency and effectiveness.
Essential Ingredients for DIY Skin Care
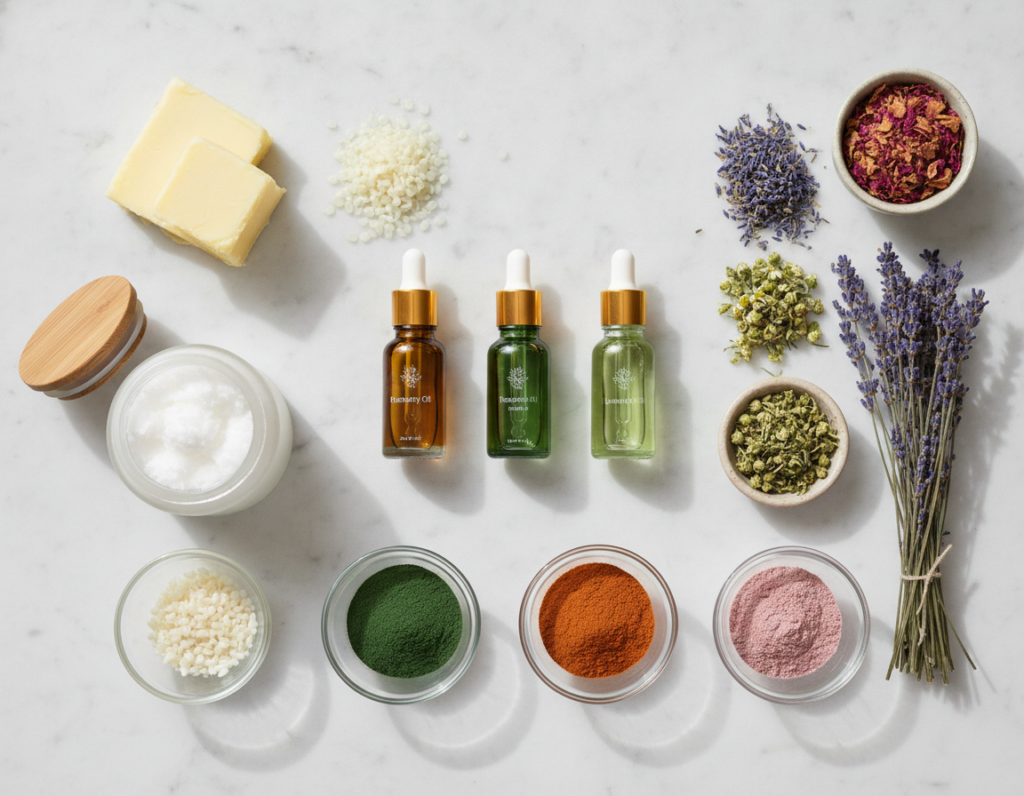
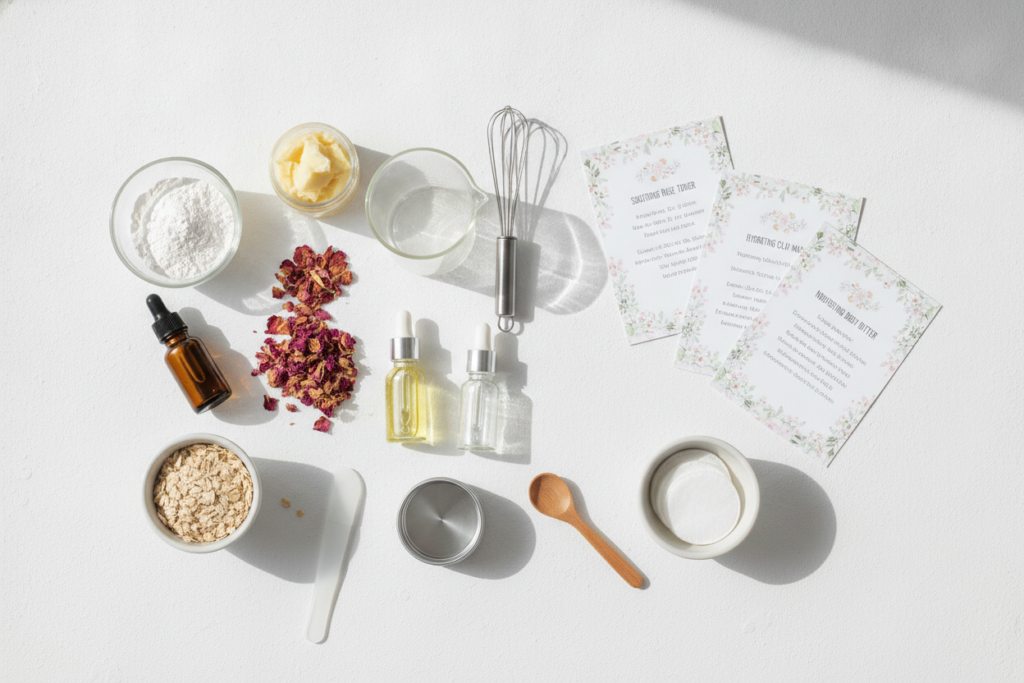
Building a basic ingredient collection makes creating recipes easier. You do not need a lot to get started. A few versatile ingredients can make many different products.
Carrier oils form the base of most DIY skin care recipes. These oils moisturize and deliver other beneficial ingredients to your skin. Different oils suit different skin types and purposes.
Base Oils and Butters
Coconut oil serves as a versatile foundation for many recipes. It absorbs quickly and provides deep moisture. This oil works well for both face and body care products.
Shea butter offers rich nourishment for dry skin areas. It melts at body temperature and feels luxurious. Many people use shea butter in body lotions and hand creams.
Almond oil provides lightweight hydration without greasiness. It contains vitamin E which supports skin health. This gentle oil suits sensitive skin types particularly well.
Active Ingredients
Aloe vera gel soothes irritated or sunburned skin instantly. It hydrates without adding oil to your complexion. Keep fresh aloe vera gel refrigerated for best results.
Essential oils add therapeutic benefits and natural fragrance. Lavender calms while tea tree fights blemishes. Use these concentrated oils sparingly – a little goes a long way.
Honey acts as a natural humectant and antibacterial agent. It draws moisture into skin and helps fight acne-causing bacteria. Raw honey provides the most benefits for DIY recipes.
Moisturizing Ingredients
Coconut oil
Shea butter
Cocoa butter
Jojoba oil
Avocado oil
Treatment Ingredients
Aloe vera gel
Tea tree oil
Witch hazel
Apple cider vinegar
Activated charcoal
Vitamin E oil acts as a natural preservative and skin conditioner. It extends the shelf life of homemade products slightly. This antioxidant also supports skin repair and renewal.
Beeswax thickens recipes and creates protective barriers. It helps lotions and balms maintain their consistency. Natural beeswax adds a subtle honey scent to formulations.
Simple DIY Skin Care Recipes for Beginners
Starting with basic recipes builds your confidence and skills. These simple formulations require minimal ingredients and time. You can make them in your kitchen with common tools.
Nourishing Body Butter
Body butter provides intense moisture for dry skin areas. This rich cream melts into skin leaving it soft and smooth. The recipe takes about fifteen minutes to prepare.
Ingredients you will need:
One cup shea butter
Half cup coconut oil
Quarter cup almond oil
Ten drops essential oil of choice
Melt the shea butter and coconut oil together using a double boiler. Remove from heat and add almond oil. Let the mixture cool until it starts to solidify at the edges.
Beat the mixture with a hand mixer for several minutes. It should become fluffy and light like frosting. Add essential oils and mix again briefly.
Store your body butter in clean glass jars. It will keep for several months at room temperature. Apply to damp skin after showering for best absorption.
Refreshing Sugar Scrub
Sugar scrubs exfoliate dead skin cells gently and effectively. They leave skin feeling smooth and renewed. This recipe makes enough for multiple uses.
Mix one cup of white or brown sugar with half cup of oil. Coconut oil works wonderfully, but you can use any carrier oil you prefer. Add a few drops of essential oil for scent.
Stir ingredients until well combined and store in an airtight container. Use in the shower by massaging onto wet skin in circular motions. Rinse thoroughly with warm water.
The sugar dissolves gradually during use, making it gentler than salt scrubs. Your skin will feel incredibly soft afterward. Use this scrub once or twice weekly for best results.
Want More Advanced Formulations?
Take your DIY skin care to the next level with professional-grade recipes and techniques. Learn how to create spa-quality products at home.
Your face needs special attention with gentler formulations. Facial skin is more delicate than body skin. These recipes address common facial skin concerns naturally.
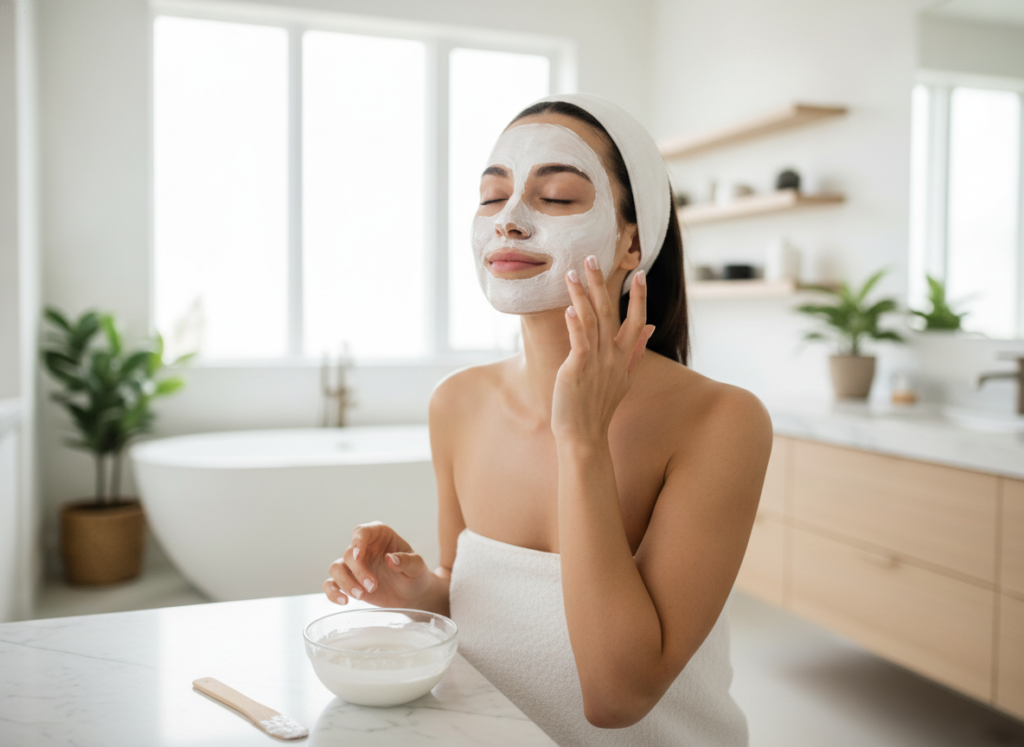
Hydrating Face Mask
This simple mask delivers intense hydration in just fifteen minutes. Your skin will feel plump and refreshed after use. Make it fresh each time for best results.
Mash half a ripe avocado until completely smooth. Add one tablespoon of honey and mix thoroughly. Apply the mixture to clean, damp skin avoiding the eye area.
Relax for fifteen minutes while the mask works its magic. The avocado provides healthy fats while honey locks in moisture. Rinse with lukewarm water and pat dry gently.
Use this mask once weekly for normal to dry skin types. You will notice improved texture and softness immediately. The natural ingredients nourish without causing irritation.
Brightening Facial Toner
Toner balances skin pH after cleansing and prepares skin for moisturizer. This recipe uses apple cider vinegar which offers gentle exfoliation. It helps fade dark spots over time with consistent use.
Mix one part raw apple cider vinegar with three parts filtered water. Add a few drops of tea tree oil if you have acne-prone skin. Store the toner in a glass bottle in the refrigerator.
Apply to clean skin using a cotton pad after washing your face. Let it dry naturally before applying other products. The vinegar smell dissipates quickly as it dries.
Start by using this toner every other day to let your skin adjust. Gradually increase to daily use if your skin tolerates it well. Some initial tingling is normal but discontinue if irritation occurs.
Gentle Cleansing Oil
Oil cleansing removes makeup and dirt without stripping natural oils. This method works for all skin types including oily skin. The right oil blend leaves skin balanced and clean.
Combine equal parts castor oil and olive oil in a small bottle. Shake well before each use. Castor oil draws out impurities while olive oil moisturizes.
Massage the oil blend onto dry skin for one minute. Wet a clean washcloth with hot water and place it over your face. Let steam open your pores for thirty seconds.
Gently wipe away the oil with the warm washcloth. Rinse and repeat if needed. Your skin should feel clean but not tight or dry.
Anti-Aging DIY Skin Care Recipes
Natural ingredients can address signs of aging effectively. These recipes focus on ingredients known for their anti-aging properties. Consistent use brings visible improvements over time.
Vitamin C Brightening Serum
Vitamin C brightens skin tone and boosts collagen production. This serum helps fade age spots and evens complexion. Fresh batches work best since vitamin C degrades with time.
Mix one teaspoon of vitamin C powder with one tablespoon of distilled water. Add two tablespoons of aloe vera gel and stir until dissolved. Transfer to a dark glass dropper bottle.
Apply a few drops to clean skin every morning before moisturizer. The serum may tingle slightly on first use. Store in the refrigerator and use within two weeks.
You should notice brighter skin after several weeks of consistent use. This powerful antioxidant protects against environmental damage. Your complexion will look more radiant and even-toned.
Retinol Alternative Night Cream
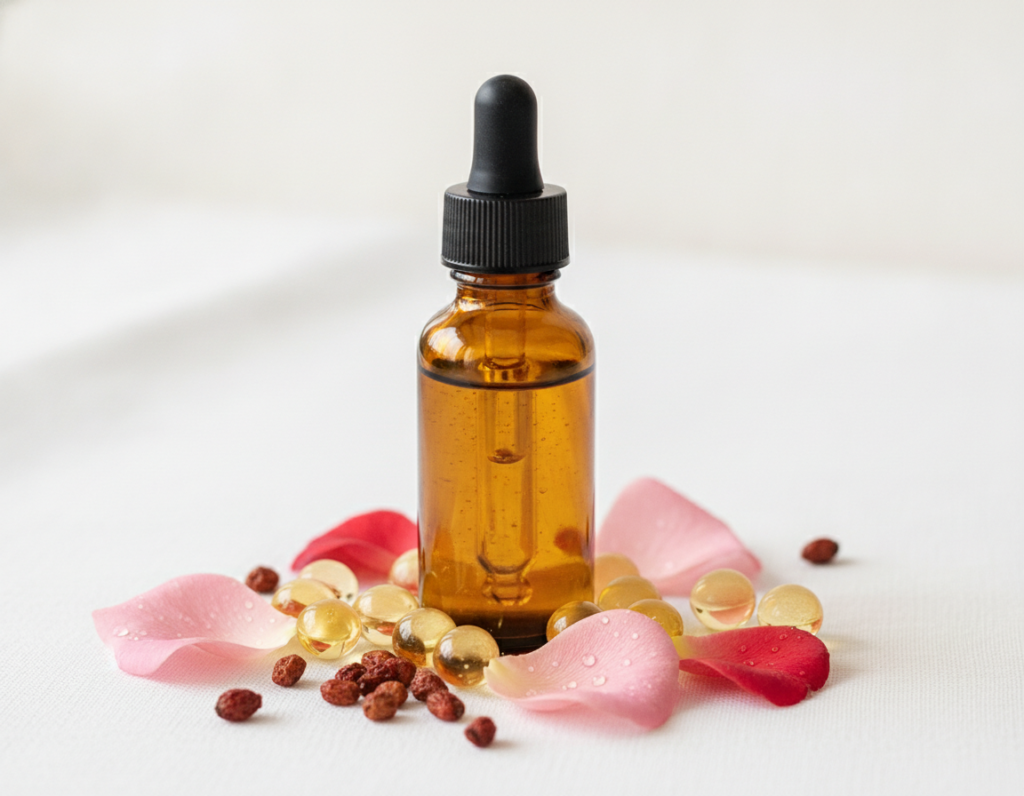
Rosehip seed oil provides natural retinol-like benefits without irritation. It encourages cell turnover and reduces fine lines. This night cream deeply nourishes while you sleep.
Whip together two tablespoons of shea butter with one tablespoon of rosehip seed oil. Add one teaspoon of vitamin E oil and mix thoroughly. The cream should have a light, fluffy texture.
Apply to clean skin before bed, focusing on areas with fine lines. A little goes a long way with this rich formulation. Wake up to softer, more supple skin.
Unlock the Secrets of Ageless Beauty
Discover comprehensive anti-aging protocols using natural ingredients and proven techniques. Get results that rival expensive treatments.
Acne affects people of all ages and skin types. Natural treatments can be just as effective as harsh chemicals. These recipes address breakouts while being gentle on skin.
Tea Tree Spot Treatment
Tea tree oil fights acne-causing bacteria naturally and effectively. This concentrated spot treatment works overnight on active blemishes. Use it at the first sign of a breakout.
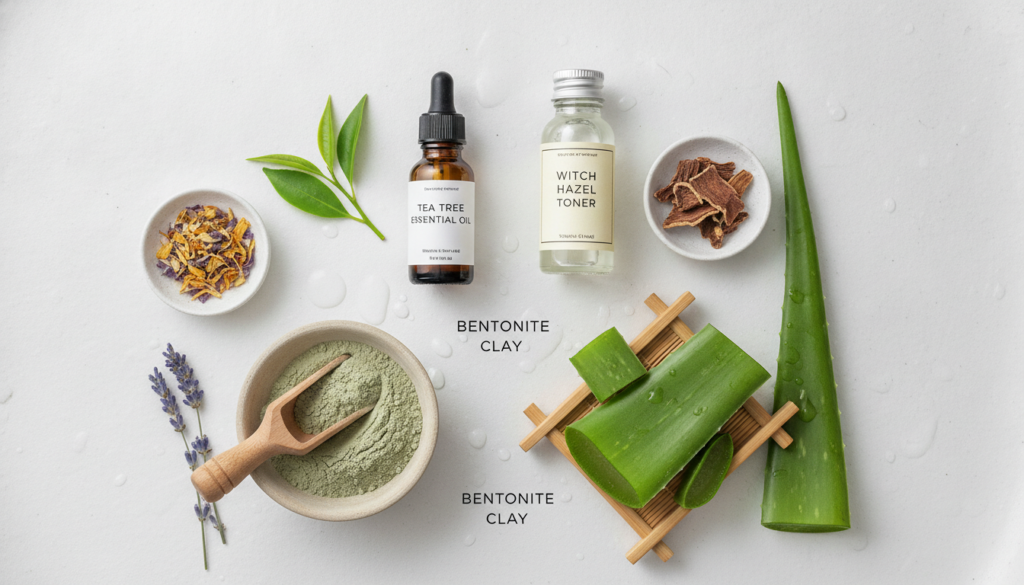
Mix one drop of tea tree essential oil with one teaspoon of aloe vera gel. Apply directly to blemishes using a clean cotton swab. Leave on overnight and rinse in the morning.
Tea tree oil is powerful so never apply it undiluted. The aloe vera gel dilutes it while adding soothing properties. You should see reduced redness and swelling by morning.
Clarifying Clay Mask
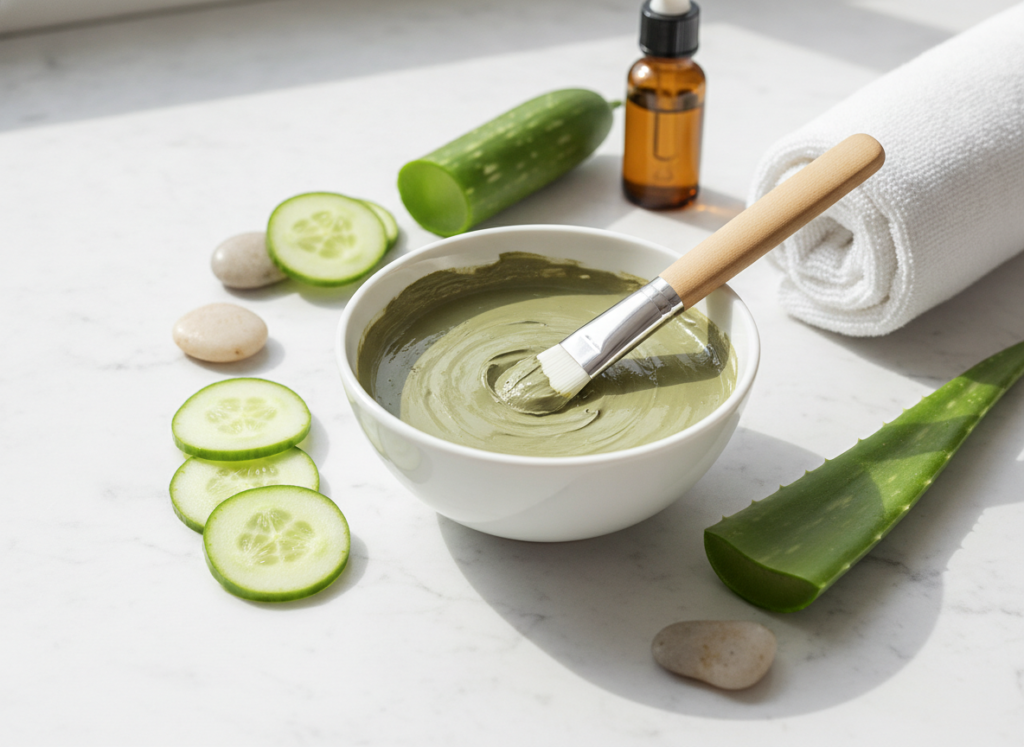
Clay masks draw out impurities from deep within pores. They help prevent future breakouts while treating current ones. This mask is suitable for oily and combination skin types.
Combine two tablespoons of bentonite clay with enough water to form a paste. Add one teaspoon of apple cider vinegar and mix thoroughly. The mixture will bubble slightly as ingredients react.
Apply an even layer to clean skin and let dry for ten minutes. Clay masks should not dry completely as this can irritate skin. Rinse with warm water and follow with moisturizer.
Use this treatment once or twice weekly for clearer skin. Your pores will appear smaller and less congested. Consistent use helps maintain a clear, balanced complexion.
Luxurious Body Care DIY Recipes
Your body deserves the same care and attention as your face. These recipes pamper skin from neck to toes. They transform your shower into a spa experience.
Whipped Body Lotion
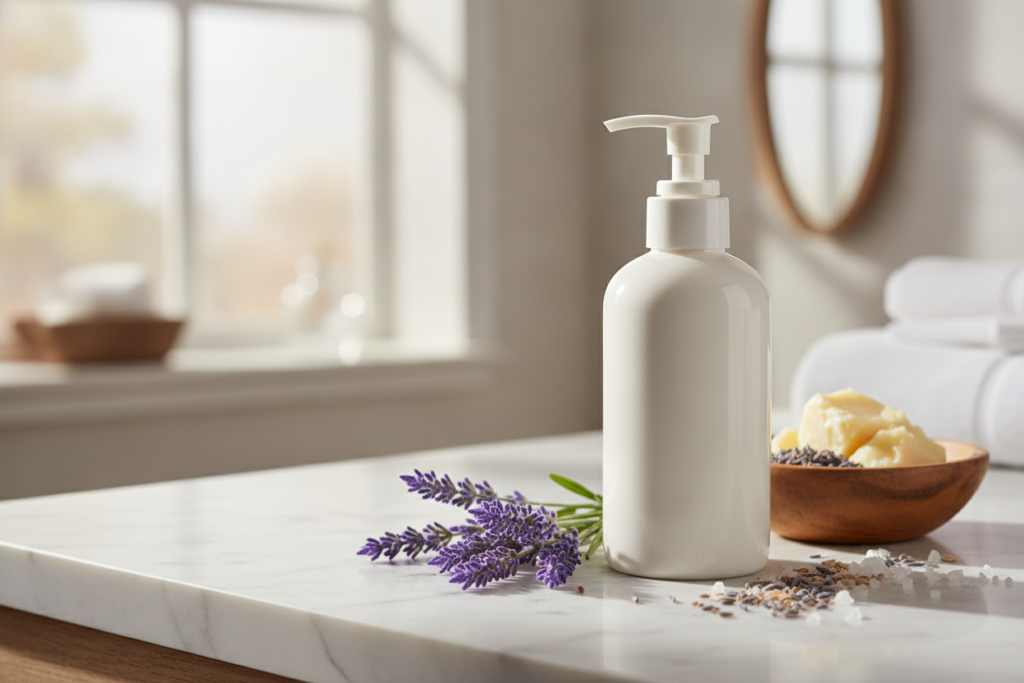
This light lotion absorbs quickly without leaving greasy residue. It provides all-day moisture that your skin will love. The whipped texture makes application luxurious and enjoyable.
Melt half cup coconut oil and quarter cup shea butter together gently. Remove from heat and add quarter cup almond oil. Refrigerate for thirty minutes until edges begin to solidify.
Whip the mixture with a hand mixer for several minutes until fluffy. Add essential oils if desired and whip again briefly. Store in clean containers at room temperature.
Apply this lotion after showering while skin is still slightly damp. It locks in moisture and keeps skin soft all day. Your skin will feel nourished without any heavy feeling.
Detoxifying Body Scrub
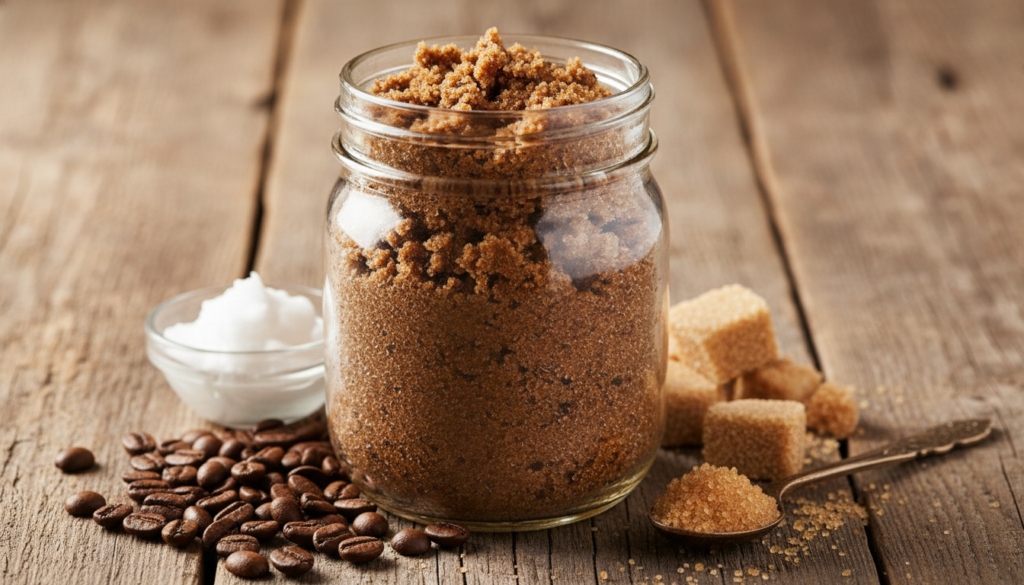
This scrub combines exfoliation with detoxification for maximum benefits. Coffee grounds stimulate circulation while sugar polishes skin. The result is smooth, glowing skin all over your body.
Mix half cup used coffee grounds with half cup sugar. Add quarter cup coconut oil and stir until combined. The mixture should be grainy but hold together.
Use in the shower on wet skin with circular massaging motions. Pay extra attention to rough areas like elbows and knees. Rinse thoroughly and feel your incredibly smooth skin.
The caffeine in coffee may help reduce the appearance of cellulite temporarily. Regular use improves skin texture and tone noticeably. Your skin will thank you for this invigorating treatment.
Transform Your Entire Body Care Routine
Learn professional formulation techniques for luxurious body products that rival high-end spa treatments. Get access to exclusive recipes and methods.
Hands and feet often show the first signs of dryness and aging. These extremities need special care and attention. Regular treatments keep them soft and youthful-looking.
Intensive Hand Cream
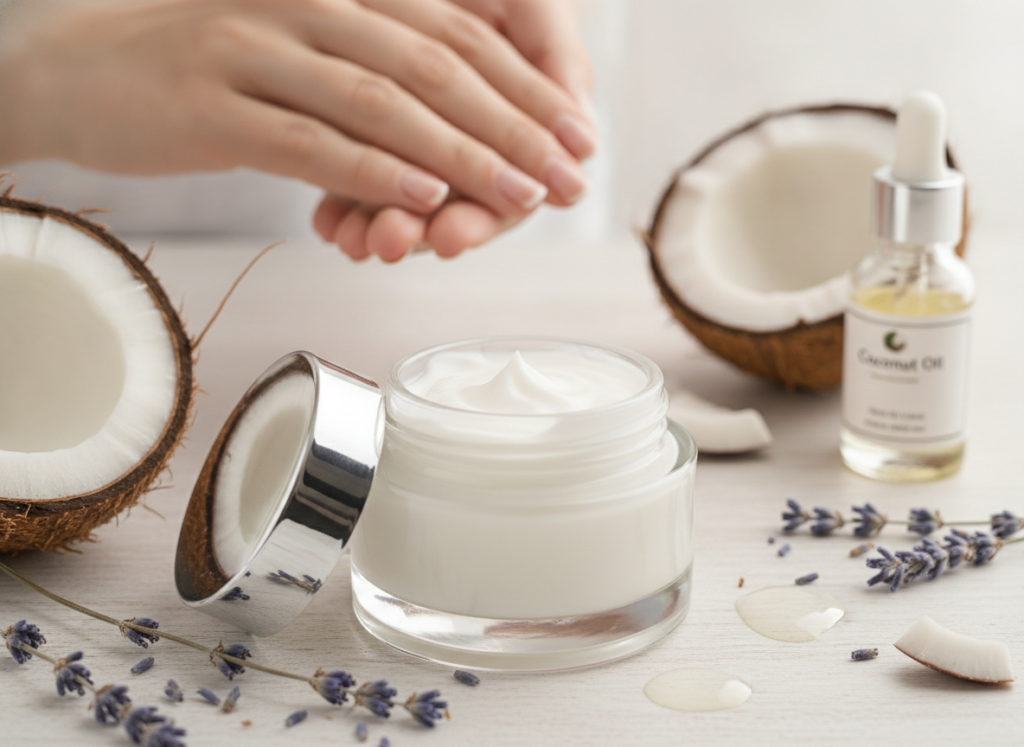
Hands face constant exposure to water, weather, and harsh conditions. This intensive cream repairs and protects hardworking hands. Keep a jar by every sink for frequent use.
Melt two tablespoons beeswax with quarter cup coconut oil slowly. Remove from heat and add two tablespoons almond oil. Whisk as mixture cools to create smooth consistency.
Add ten drops of lavender essential oil and pour into small jars. Let cool completely before capping. This cream is concentrated so a small amount goes far.
Apply to hands throughout the day, especially after washing. For intensive overnight treatment, apply generously and wear cotton gloves. Wake up to noticeably softer hands.
Softening Foot Soak
Your feet carry you through each day and deserve pampering. This soak softens rough skin and relaxes tired feet. Make it a weekly ritual for happy, healthy feet.
Fill a basin with warm water and add half cup Epsom salt. Squeeze in juice from one lemon and add a few drops of peppermint oil. Stir until salt dissolves completely.
Soak feet for fifteen to twenty minutes while you relax. The Epsom salt eases soreness while lemon brightens skin. Peppermint provides a refreshing, cooling sensation.
Follow with a sugar scrub to remove dead skin, then moisturize well. Your feet will feel soft, smooth, and completely rejuvenated. Regular foot care prevents calluses and cracks from forming.
Natural Lip Care DIY Recipes
Lips have thinner skin than the rest of your face. They need special protection and moisturization. These recipes keep lips soft, smooth, and kissable year-round.
Healing Lip Balm
This classic lip balm recipe provides long-lasting moisture and protection. It creates a barrier against harsh weather conditions. Making your own ensures fresh, chemical-free lip care.
Melt one tablespoon beeswax with two tablespoons coconut oil in a double boiler. Add one tablespoon shea butter and stir until completely melted. Remove from heat immediately.
Stir in half teaspoon vitamin E oil and a few drops of essential oil. Pour into small tins or tubes while still liquid. Let cool completely before use.
Apply throughout the day to keep lips moisturized and protected. This balm stays solid at room temperature but melts on contact. One batch makes several containers to keep everywhere.
Exfoliating Lip Scrub
Dead skin buildup makes lips look dull and feel rough. This gentle scrub removes flakes and reveals smooth lips. Use it before applying lip color for better results.
Mix one tablespoon honey with one tablespoon brown sugar. Add half teaspoon coconut oil and stir well. The mixture should have a spreadable consistency.
Gently massage onto lips using circular motions for one minute. Rinse with warm water and pat dry. Follow with your favorite lip balm immediately.
Use this scrub once or twice weekly for best results. Your lips will feel incredibly soft and smooth. Lip products apply more evenly on exfoliated lips.
Master Complete Natural Beauty Solutions
Get comprehensive training in creating every type of natural beauty product. Learn professional techniques for head-to-toe care.
Healthy hair starts with nourishing treatments from natural ingredients. Commercial hair products often contain sulfates and silicones. These DIY alternatives clean and condition without harmful chemicals.
Deep Conditioning Hair Mask
This intensive treatment repairs dry, damaged hair beautifully. It restores moisture and shine using kitchen ingredients. Your hair will feel salon-soft after one use.
Mash one ripe avocado with two tablespoons coconut oil until smooth. Add one tablespoon honey and one egg yolk. Mix thoroughly until the mask has a creamy consistency.
Apply to damp hair from roots to ends, focusing on the driest areas. Cover hair with a shower cap and let sit for thirty minutes. Rinse thoroughly with cool water then shampoo as usual.
Use this mask weekly for damaged hair or monthly for maintenance. The proteins and healthy fats penetrate the hair shaft deeply. You will notice softer, shinier, more manageable hair immediately.
Clarifying Apple Cider Vinegar Rinse
Product buildup makes hair look dull and feel heavy over time. This simple rinse removes residue and restores natural shine. It also balances scalp pH for healthier hair growth.
Mix one part raw apple cider vinegar with four parts water. You can add a few drops of essential oil to improve the scent. Store in a squeeze bottle for easy application.
After shampooing, pour the mixture over your hair and scalp. Massage briefly then rinse with cool water. The vinegar smell disappears as hair dries.
Use this rinse once weekly or after using heavy styling products. Your hair will feel clean, light, and incredibly shiny. Many people notice reduced frizz and improved manageability.
Storage and Safety Tips for DIY Products
Proper storage extends the shelf life of your homemade products. Safety practices ensure your creations remain effective and safe. Following these guidelines protects your time and ingredient investment.
Container Selection
Glass containers work best for most DIY skin care recipes. They do not leach chemicals and clean easily between batches. Amber or cobalt glass protects light-sensitive ingredients.
Sterilize all containers before filling them with product. Wash with hot soapy water and dry completely. You can also run glass containers through the dishwasher on the hottest setting.
Choose containers with tight-fitting lids to prevent contamination. Wide-mouth jars work well for thick creams and butters. Pump bottles or squeeze tubes suit thinner lotions and oils.
Shelf Life Guidelines
Most DIY products last one to three months when stored properly. Products without preservatives have shorter shelf lives than commercial versions. Make small batches to ensure freshness.
Refrigerate products containing fresh ingredients like aloe vera gel. Cold storage extends their usability significantly. Let refrigerated products come to room temperature before use.
Watch for signs of spoilage including off smells, color changes, or separation. When in doubt, throw it out and make a fresh batch. Your skin’s health is worth the extra precaution.
Safety Considerations
Always patch test new recipes on a small area first. Apply to your inner forearm and wait twenty-four hours. This prevents full-face reactions to ingredients you might be sensitive to.
Essential oils are concentrated and should be used sparingly. Never apply them directly to skin without diluting in a carrier oil. Pregnant women should research essential oil safety thoroughly.
Label every container with contents and date of creation. This helps you track freshness and identify products easily. Include any relevant warnings or usage instructions on labels.
Keep all products out of reach of children and pets. Some ingredients can be harmful if ingested. Store products in a cool, dark place away from direct sunlight.
Customizing Recipes for Your Skin Type
Every person has unique skin needs and preferences. Learning to modify recipes ensures optimal results for you. Small adjustments make a big difference in effectiveness.
Understanding Your Skin Type
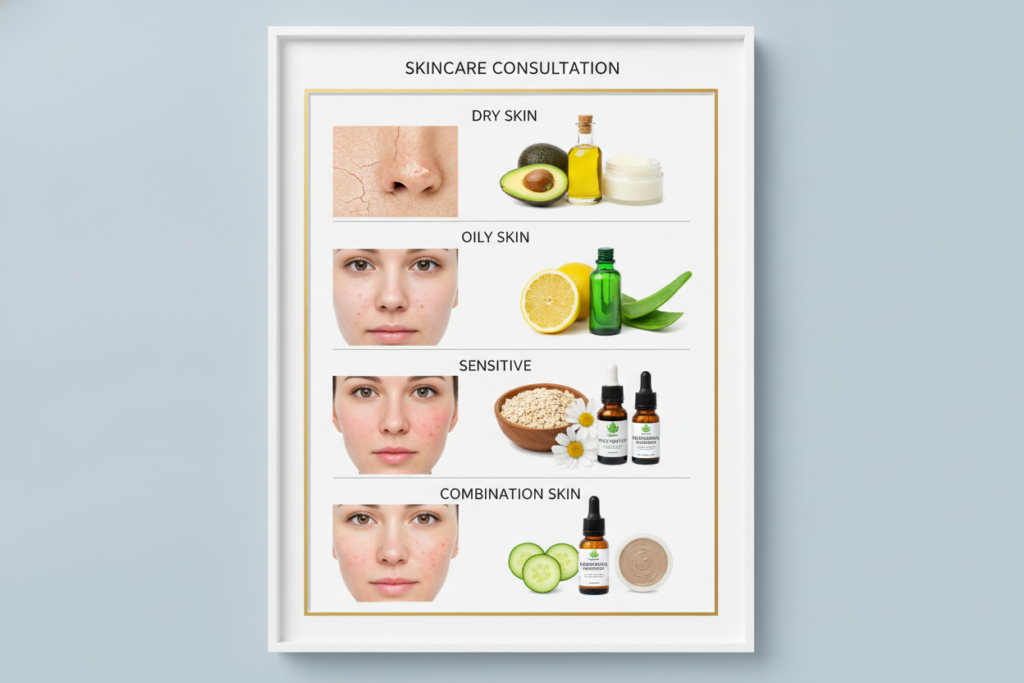
Identifying your skin type guides ingredient selection. Oily skin benefits from lightweight oils like jojoba. Dry skin needs richer butters and heavier oils for adequate moisture.
Combination skin requires balance in the middle ground. Use lighter products on oily areas and richer ones where skin is dry. This targeted approach works better than one-size-fits-all solutions.
Sensitive skin needs simple formulations with fewer ingredients. Avoid essential oils or use them very sparingly. Patch testing becomes especially important for reactive skin types.
Ingredient Substitutions
Most recipes allow for ingredient swaps based on availability and preference. Coconut oil can replace other solid oils in most recipes. Just maintain the same proportions for consistent results.
If you dislike a particular scent, try a different essential oil. Lavender, peppermint, and citrus oils are popular choices. You can also leave fragrance out entirely.
Vegans can substitute plant-based waxes for beeswax in most recipes. Candelilla wax or carnauba wax work well as alternatives. Adjust quantities slightly as these waxes have different hardness levels.
Adjusting Consistency
Too thick? Add more liquid oil to thin the consistency. Too thin? Add more butter, wax, or thickening agent. Keep notes on adjustments for future batches.
Climate affects product consistency significantly. Coconut oil-based products may be softer in warm weather. Store them in the refrigerator during hot months if needed.
Personalize Your Perfect Skin Care System
Learn advanced customization techniques to create products perfectly suited to your unique skin. Get personalized formulation guidance.
Even experienced DIY enthusiasts encounter problems occasionally. Understanding what went wrong helps you fix issues quickly. Most problems have simple solutions.
Texture Problems
Grainy texture in body butters happens when ingredients cool too quickly. Reheat gently and let cool more slowly next time. The texture should become smooth and creamy.
Separation occurs when ingredients have different consistencies or temperatures. Mix similar-temperature ingredients and whip thoroughly. Adding an emulsifier helps oil and water-based ingredients blend.
Overly soft products need more beeswax or solid butter. Overly hard products need more liquid oil. Remelt and adjust proportions to achieve your desired consistency.
Scent Issues
Essential oils lose potency over time when exposed to heat and light. Store them in cool, dark places to preserve their strength. Replace old oils that have lost their scent.
If scent is too strong, reduce essential oil quantity in your next batch. Ten to fifteen drops per cup of product usually provides adequate fragrance. More is not always better with essential oils.
Performance Issues
If products do not absorb well, you may be using too much. Start with a small amount and add more if needed. Heavy oils take longer to absorb than lighter ones.
Products that irritate skin may contain too much essential oil. Dilute further or omit essential oils entirely. Some skin types simply cannot tolerate certain ingredients.
If moisturizers do not hydrate enough, add more humectants like aloe vera gel or honey. These ingredients draw moisture into skin. Also ensure you are applying to damp skin for better absorption.
Seasonal Skin Care Adjustments
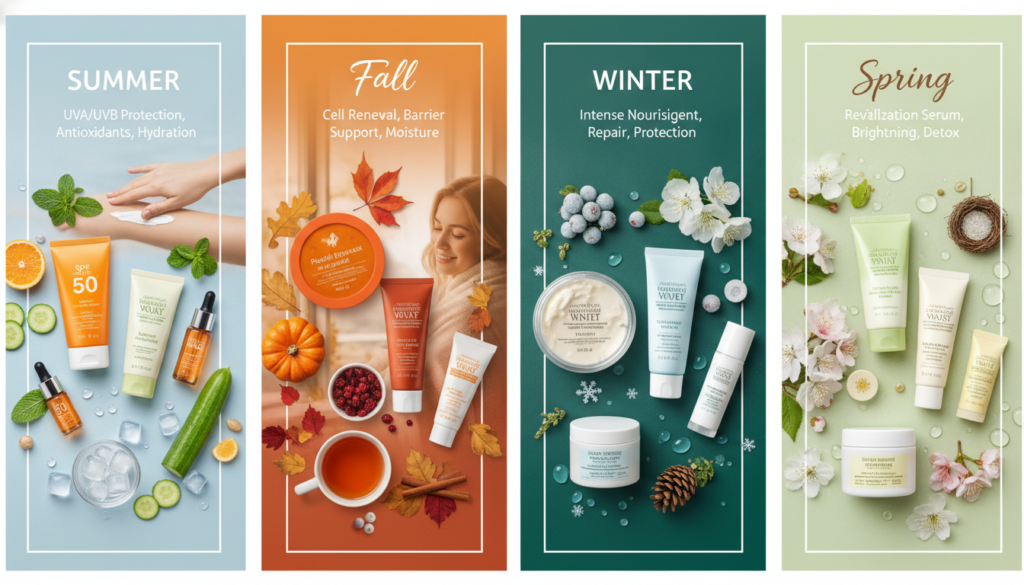
Your skin needs change with the seasons. Summer requires lighter, protective formulations. Winter demands richer moisture to combat harsh conditions.
Summer Skin Care
Hot weather and increased sun exposure affect your skin differently. Lighter formulations prevent clogged pores during humid months. Add natural SPF ingredients for extra protection.
Use aloe vera gel as a base for summer moisturizers. It hydrates without heaviness and soothes sun-exposed skin. Mix with a small amount of lightweight oil like jojoba.
Create refreshing face mists with rose water and cucumber. Keep them refrigerated for an extra cooling effect. Spray throughout the day to refresh and hydrate skin.
Winter Skin Care
Cold air and indoor heating strip moisture from skin rapidly. Your recipes need more emollient ingredients during winter months. Focus on creating protective barriers against harsh elements.
Increase the ratio of butter to oil in your body lotions. Add more beeswax to hand creams for extra protection. These richer formulations prevent moisture loss in dry conditions.
Make overnight treatments for extremely dry areas. Apply thick layers of shea butter or tallow body butter before bed. Cover with cotton gloves or socks for intensive healing.
Humidifiers help maintain skin moisture from the inside out. Run them in sleeping areas and workspaces during winter. Combined with topical treatments, they keep skin comfortable.
Where to Source Quality Ingredients
Quality ingredients make better products that deliver results. Knowing where to shop saves time and ensures freshness. Build relationships with reliable suppliers for consistent quality.
Local Options
Health food stores carry many DIY skin care ingredients. They often stock carrier oils, essential oils, and natural butters. Staff members can help you find what you need.
Grocery stores provide basic ingredients like honey, oats, and coconut oil. Check the organic section for the purest versions. These common ingredients work wonderfully in many recipes.
Farmers markets offer fresh, local ingredients when in season. Look for raw honey, beeswax, and herbs. Supporting local producers ensures freshness and quality.
Online Shopping
Specialty online retailers offer extensive ingredient selections. You can find hard-to-locate items and bulk quantities. Read reviews to verify supplier reliability and product quality.
Compare prices across multiple vendors before making large purchases. Buying ingredients in bulk reduces cost per recipe significantly. Just ensure you will use them before they expire.
Look for organic, cold-pressed, and unrefined versions when possible. These preserve the most beneficial properties. The investment in quality shows in your final products.
Getting Started with DIY Skin Care
Beginning your DIY journey feels exciting yet perhaps overwhelming. Start small with simple recipes requiring few ingredients. Build your skills and ingredient collection gradually over time.
Choose one or two recipes that address your biggest skin concerns. Master these before expanding to other formulations. Success with initial projects builds confidence for more complex recipes.
Invest in basic tools before diving into complicated recipes. You will need measuring spoons, a double boiler, and mixing bowls. Clean containers for storage are equally important.
Keep a notebook documenting your recipes and results. Note what works well and what needs adjustment. This record becomes invaluable as you refine your formulations.
Join online communities of fellow DIY enthusiasts. Share experiences, ask questions, and learn from others. These supportive groups make the journey more enjoyable and educational.
Remember that natural products may take time to show results. Give new recipes at least two weeks of consistent use. Your patience will be rewarded with healthier, more radiant skin.
Fast-Track Your DIY Success
Skip the trial and error with proven formulations and expert guidance. Get everything you need to create professional-quality products from day one.
Creating your own skin care products empowers you to take control of what touches your skin. Natural DIY skin care recipes offer effective solutions without harsh chemicals. Your skin will thank you for the gentle, nourishing care.
The recipes shared here provide a solid foundation for your DIY journey. Experiment with different ingredients to find what works best for your unique skin. Remember that consistency brings the best results with natural products.
Making DIY skin care becomes easier and more enjoyable with practice. You will develop an intuitive sense for formulations and adjustments. The process itself becomes a relaxing, creative ritual you look forward to.
Your glowing skin will reflect the care and attention you invest. Natural ingredients work in harmony with your body for lasting results. Start with one simple recipe today and discover the joy of homemade beauty care.