Creating stuffed chickens brings joy to crafters and recipients alike. These charming plush friends make perfect gifts for children, farmhouse decor enthusiasts, and anyone who loves handmade treasures. Whether you want a simple project for an afternoon or a detailed creation, chicken plush patterns offer endless creative possibilities.
This Website contains affiliate links. That means I may earn a small commission if you purchase through my links, at no extra cost to you.
The best part about making your own stuffed chicken? You control every detail. Choose fabrics that match your style, adjust sizes for different purposes, and add personal touches that make each one unique. From tiny keychain versions to large decorative pillows, the chicken sewing pattern stuffed toy world welcomes all skill levels.
Ready to Start Your Chicken Crafting Journey?
Access hundreds of premium sewing patterns including adorable chicken designs, complete with step-by-step tutorials and expert tips.
Why Chicken Sewing Patterns Are Perfect for Every Crafter
Chicken patterns have become incredibly popular in the crafting community. Their simple shape makes them approachable for beginners while offering enough detail to satisfy experienced sewers. The rounded body, distinctive comb, and cute beak create an instantly recognizable silhouette that delights people of all ages.
These projects work beautifully for multiple occasions. Easter baskets receive an extra touch of charm with handmade chickens. Farm-themed nurseries come alive with plush versions in coordinating colors. Holiday decorations gain personality when you add seasonal fabric chickens to your display.
Beginner-Friendly Features
Simple curved seams easy to sew
Minimal pattern pieces to cut
Forgiving shape hides small mistakes
Quick completion time builds confidence
Creative Customization Options
Endless fabric combinations possible
Size adjustments for different purposes
Embellishment opportunities with buttons and embroidery
Expression changes through eye placement
The versatility of chicken patterns means you can create an entire flock with different personalities. One pattern becomes a mother hen in calico print, baby chicks in soft pastels, and a rooster in bold colors. Each version tells its own story while maintaining that beloved chicken shape.
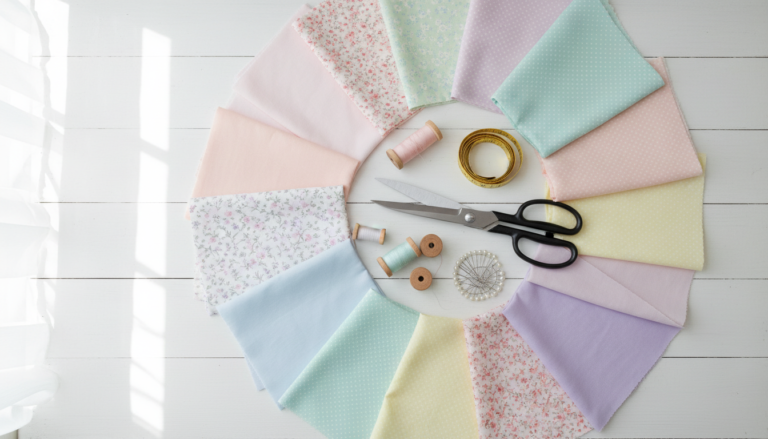
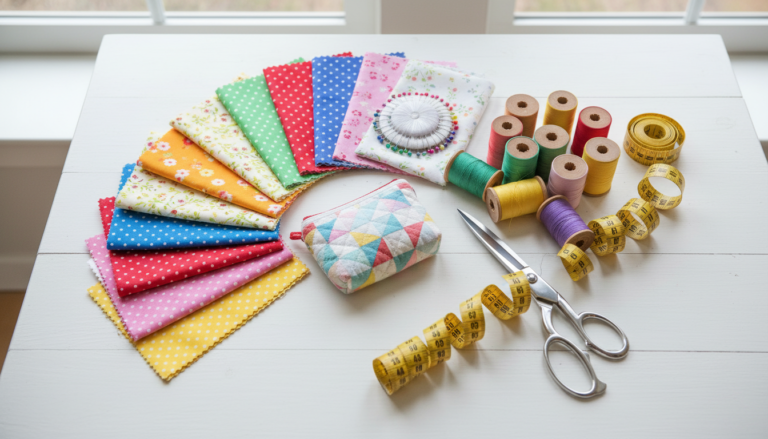
Essential Materials for Your Stuffed Chicken Project
Gathering the right supplies ensures your chicken turns out beautifully. Quality materials make the sewing process smoother and create a finished plush that stands up to hugs and display. Most crafters already have many of these items in their sewing stash.
Fabric Selection Guide
The fabric you choose dramatically impacts your finished chicken. Cotton quilting fabrics work wonderfully because they hold their shape well and come in countless patterns. Fleece creates ultra-soft cuddly chickens perfect for babies. Felt offers a no-fray option that simplifies construction for beginners.
Consider the chicken version you want to create. Realistic chickens benefit from textured fabrics that mimic feathers. Whimsical ones shine in bold prints and unexpected color combinations. The pattern remains the same while fabric choice transforms the final personality.
Main Body Fabrics
Cotton quilting fabric
Minky or fleece for softness
Linen for farmhouse style
Flannel for cozy versions
Accent Materials
Felt for comb and beak pieces
Embroidery floss for details
Buttons or safety eyes
Ribbon for decorative touches
Construction Supplies
Polyester fiberfill stuffing
Matching thread colors
Fabric scissors
Pins or clips
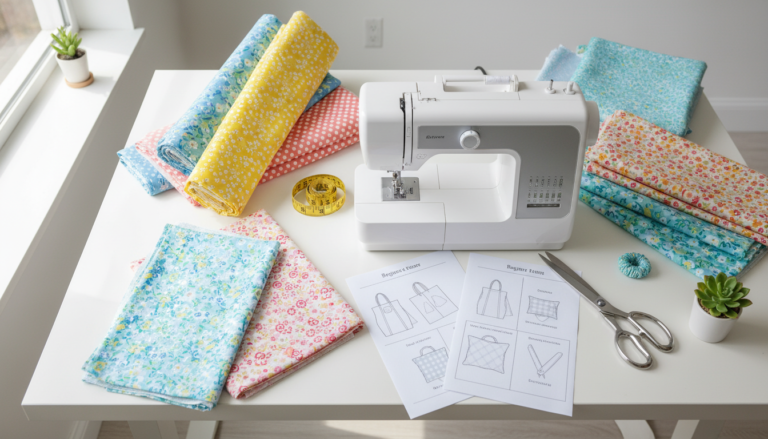
Tools That Make Sewing Easier
A basic sewing machine handles chicken patterns beautifully. You need straight stitches and perhaps a zigzag for finishing seams. Hand sewing works too, though a machine speeds up the process considerably. The simple construction means even older machines perform perfectly for this project.
Specialized tools help but are not essential. A turning tool assists with getting smooth curves on the beak and comb. Stuffing tools ensure even filling throughout the body. A point turner creates crisp corners and curves. However, a chopstick or knitting needle from your kitchen works just as well.
Need Expert Guidance?
Get access to detailed video tutorials and printable patterns that walk you through every step of creating perfect stuffed chickens.
Making a stuffed chicken follows a logical sequence that becomes second nature after your first one. The process involves preparing pattern pieces, sewing the body, adding distinctive features, and stuffing to perfection. Each step builds on the previous one to create your adorable plush friend.
Cutting and Preparing Pattern Pieces
Start by printing your pattern at the correct size. Most patterns include a test square to verify scaling. Cut out paper pattern pieces carefully, then pin them to your chosen fabric. Cut with sharp fabric scissors for clean edges that make sewing easier.
The typical chicken pattern includes a body piece, wing pieces, comb, beak, and sometimes tail feathers. Some versions have the comb and beak integrated into the head shape. Others require attaching these as separate felt pieces. Check your specific pattern for piece count and instructions.
Transfer all pattern markings to fabric including dots, notches, and placement guides
Cut body pieces with seam allowance included in pattern dimensions
Prepare smaller accent pieces like the felt comb and beak shape
Organize pieces by type to streamline the sewing work ahead
Sewing the Main Body
Pin the body pieces together with right sides facing each other. This ensures seams stay hidden inside the finished chicken. Leave an opening along the bottom or back for turning and stuffing. The opening should measure about three inches for easy access.
Sew around the perimeter using a quarter-inch seam allowance or the measurement specified in your pattern. Go slowly around curves to maintain smooth lines. Backstitch at the beginning and end to secure your seams. The machine does most of the work while you guide the fabric gently.
Clip curves and corners carefully without cutting through stitches. This allows the fabric to spread smoothly when turned right side out. Small notches in curved areas prevent bunching and puckering that distort the chicken shape.
Adding Distinctive Chicken Features
The comb, beak, and eyes transform a simple plush into an unmistakable chicken. These details make or break the final appearance. Take time with placement to achieve the expression you want. Eyes positioned higher create a surprised look while lower placement makes a sleepy chicken.
Pin the comb between body layers before sewing if your pattern calls for this method. The comb gets caught in the seam and stands upright when stuffed. Alternative patterns have you attach the comb after turning the body right side out. Both methods work beautifully with slightly different finished looks.
The beak often attaches after stuffing using ladder stitch or visible decorative stitching. Shape determines personality. A pointed beak creates a realistic chicken while a rounded one adds whimsy. Felt remains the most popular beak material because it holds its shape without fraying.
Master Advanced Techniques
Learn professional finishing methods and expert tips that make your chickens look store-bought. Access comprehensive tutorials covering every skill level.
Turn your sewn chicken right side out through the opening. Use a turning tool to push out the head and tail areas completely. Smooth curves and corners from the inside to achieve the desired shape before adding stuffing.
Add small amounts of stuffing at a time. Push filling into the head first, then the body, distributing evenly throughout. Overstuffing creates a tight, hard chicken while understuffing makes a floppy one. Aim for firm but squeezable. The chicken should hold its shape when placed on a surface without slumping.
Close the opening using ladder stitch or slip stitch. These invisible hand stitches blend seamlessly into the fabric. Pull stitches snug as you work to eliminate gaps. Knot securely at the end and bury the thread tail inside the body for a clean professional finish.
Creative Chicken Variations to Try
One pattern becomes dozens of unique chickens through creative modifications. Changing size, fabric, or embellishments creates completely different looks while using the same basic construction method. This versatility makes chicken patterns endlessly reusable and perfect for gift-giving when you need multiples with individual personalities.
Size Adjustments for Different Projects
Scaling your pattern up or down opens new possibilities. Miniature chickens make adorable ornaments or bag charms. Medium ones suit gift-giving and nursery decor perfectly. Oversized versions become statement pillows or floor cushions for children’s rooms.
Most patterns enlarge easily using a photocopier or printing at increased percentages. Reduce the same way for smaller versions. Remember that fabric requirements change with size adjustments. A pattern calling for fat quarters at standard size might need half yards when doubled.
Popular Size Options
Keychain chickens at 3-4 inches tall
Standard gift size at 8-10 inches
Display chickens at 12-15 inches
Pillow chickens at 18-24 inches
Consider the purpose before choosing your size. Small chickens work beautifully as party favors or stocking stuffers. Large ones make impressive centerpieces for holiday displays. Medium sizing hits the sweet spot for most applications and uses manageable fabric amounts.
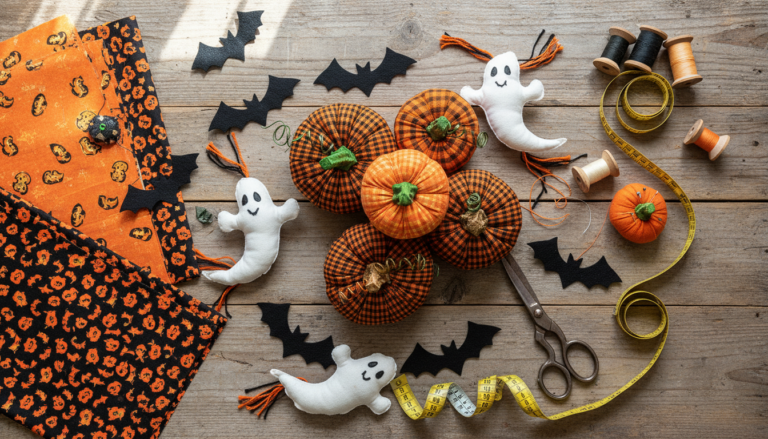
Seasonal and Themed Designs
Transform your chicken for any occasion through fabric and accessory choices. Easter chickens wear pastel fabrics with ribbon bows. Christmas versions sport red and green prints with tiny Santa hats. Halloween chickens get orange and black treatments with felt witch hats.
Baby shower chickens coordinate with nursery colors and themes. Wedding chickens serve as unique cake toppers in bride and groom attire. Birthday versions match party themes from farmyard to rainbow celebrations. The neutral chicken base adapts to absolutely any occasion.
Consider adding themed accessories rather than making entirely new chickens. A simple bow changes the look dramatically. Felt flowers, tiny scarves, or seasonal props transform your basic chicken into a holiday celebration. This approach lets you reuse patterns efficiently while creating variety.
Personal touches make each chicken special. Embroidery adds names, dates, or decorative stitching that enhances the handmade quality. Buttons create texture and visual interest beyond standard eyes. Lace, rickrack, or trim along the bottom edge adds vintage charm.
Face Variations
Safety eyes for children’s toys
Button eyes for decorative pieces
Embroidered eyes for babies
Googly eyes for silly versions
Wing Options
Flat sewn wings
Three-dimensional stuffed wings
Felt applique wings
Embroidered wing details
Texture Additions
Fluffy yarn tail feathers
Ribbon loops for dimension
Pom-pom accents
Sequin or bead details
Common Challenges and Solutions
Even experienced sewers encounter occasional hiccups when making stuffed chickens. Recognizing common issues and knowing quick fixes saves frustration and produces better results. Most problems have simple solutions that get your project back on track quickly.
Uneven Stuffing Distribution
Lumpy chickens result from stuffing too quickly or using pieces that are too large. Break apart fiberfill into small wisps before inserting. Work stuffing into extremities first using a chopstick or similar tool. Build up gradually rather than forcing large amounts through the opening.
If you notice lumps after closing, you can add small amounts through careful seam opening. Use a seam ripper to open an inch, redistribute stuffing, then re-stitch. Prevention works better than correction. Take your time during the stuffing phase for the best results.
Seam Issues and Fixes
Puckered seams often come from pulling fabric while sewing or inconsistent seam allowance. Let the machine feed fabric naturally without tugging. Use a seam guide or mark your machine bed to maintain consistent distance from the edge.
Small holes or gaps in seams happen when stitches are too large or thread tension is incorrect. Adjust your machine stitch length to about 2-2.5 for stuffed toys. Check tension settings in your manual. Test on scrap fabric before sewing pattern pieces.
Pro Tip: Always backstitch at the beginning and end of seams. This simple step prevents seams from coming apart when you turn and stuff the chicken. Most seam failures occur at unsecured seam ends.
Feature Placement Problems
Crooked or asymmetrical features ruin the finished appearance. Before stitching eyes permanently, pin them in place and view from multiple angles. Step back or take a photo to spot issues your close-up view misses. Adjust until placement looks balanced and creates the desired expression.
The comb falling to one side indicates insufficient stitching or weak attachment. Secure the comb base with multiple stitches through all layers. Add a few hidden stitches at the tip to hold it upright if needed. Some stuffing in the comb area helps it stand properly.
Learn Professional Finishing Methods
Access expert troubleshooting guides and advanced techniques that eliminate common mistakes and create flawless stuffed chickens every time.
Finished chickens deserve proper presentation and care to maintain their beauty. How you display and clean your creations affects their longevity and appearance. Simple care practices keep handmade chickens looking fresh for years of enjoyment.
Creative Display Ideas
Grouping chickens by size creates visual interest on shelves or mantels. Mix fabric patterns and colors for a collected-over-time look. Farmhouse-style baskets hold multiple chickens while adding to the rustic aesthetic. Glass cloches protect while showcasing special ones as decorative accents.
Seasonal rotation keeps displays fresh throughout the year. Store off-season chickens in clear containers where you can see them. This makes finding specific ones easy when the next holiday arrives. Proper storage prevents dust accumulation and fabric fading from sunlight exposure.
Display Location Ideas
Kitchen shelves for farmhouse charm
Nursery decor coordinating with room colors
Entryway welcomes on console tables
Seasonal vignettes changed monthly
Protection Tips
Keep away from direct sunlight to prevent fading
Dust regularly with soft brush or cloth
Store in breathable containers when not displayed
Avoid humid areas that promote mildew
Cleaning and Maintenance
Most stuffed chickens benefit from spot cleaning rather than full washing. Treat stains immediately with a damp cloth and mild soap. Blot rather than rubbing to avoid damaging fabric or pushing dirt deeper into fibers. Air dry completely before returning to display.
Machine washing works for chickens made from durable fabrics without delicate embellishments. Place in a mesh laundry bag to protect during the wash cycle. Use gentle cycle with cold water and mild detergent. Air dry or use low heat tumble dry based on fabric type.
Care Note: Chickens with button eyes, delicate trim, or mixed fabric types clean best with hand methods. The gentle approach preserves embellishments and prevents color bleeding between different fabrics.
Start Your Chicken Sewing Journey Today
Creating stuffed chickens combines practical sewing skills with creative expression. These projects suit every skill level from absolute beginners to advanced sewers seeking quick satisfying makes. The chicken sewing pattern stuffed toy niche offers endless variations that keep the work interesting project after project.
The beauty of these patterns lies in their versatility and forgiving nature. Small mistakes hide easily in the finished plush. Each chicken develops its own personality through your fabric choices and feature placement. No two ever turn out exactly alike, making each one special.
Whether you sew one chicken or create an entire flock, the process brings joy and relaxation. Handmade chickens make meaningful gifts that recipients treasure. They add personality to home decor without breaking the budget. Most importantly, they provide creative satisfaction that comes from making something beautiful with your own hands.
Begin Creating Beautiful Stuffed Chickens
Get instant access to a complete library of sewing patterns, detailed tutorials, and expert tips. Join thousands of crafters creating adorable plush toys and gifts.
Start with a simple pattern to build confidence and learn the basic techniques. Progress to more complex versions as your skills grow. Soon you will develop your own modifications and signature style that makes your chickens uniquely yours. The chicken sewing pattern stuffed toy world welcomes you with open wings.