DIY Face Mask for Clear Skin: 15 Easy Natural Recipes
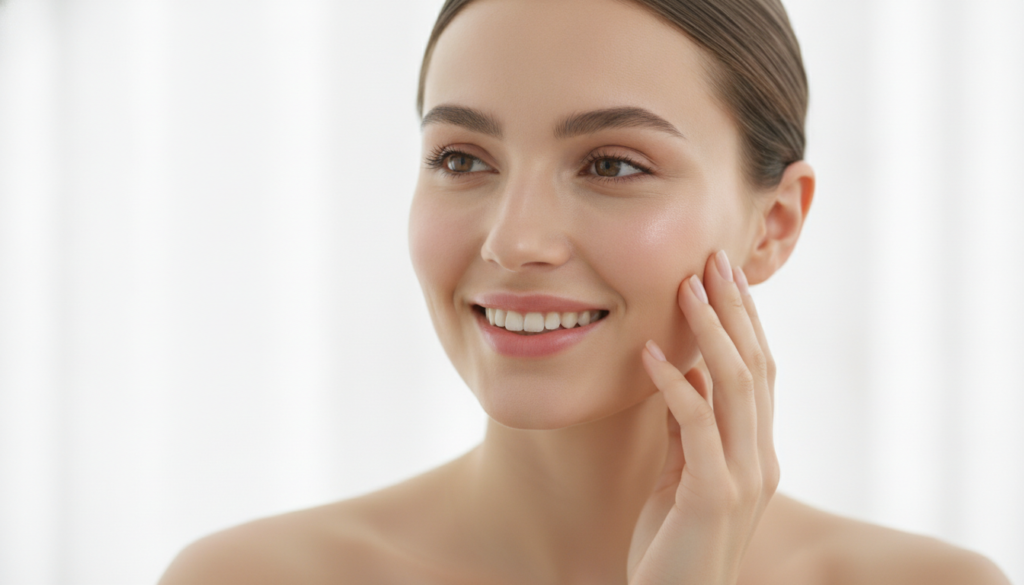
Your journey to radiant, clear skin starts in your kitchen. Natural ingredients have transformed skincare routines for centuries, offering powerful solutions without harsh chemicals. Whether you struggle with persistent acne, uneven skin tone, or stubborn pores, homemade face masks provide gentle yet effective care tailored to your unique needs.
The beauty industry spends billions convincing us we need complex formulations. Yet the most effective remedies often come from simple, natural ingredients. DIY face masks let you control exactly what touches your skin while saving money and avoiding unnecessary additives.
This comprehensive guide reveals proven recipes and techniques for creating face masks that deliver visible results. You’ll discover which ingredients target specific skin concerns and how to combine them for maximum effectiveness.
Ready to Accelerate Your Clear Skin Journey?
Before you start experimenting with DIY masks, discover the complete system that combines natural wisdom with proven dermatological science. Transform your skin faster with professional guidance.
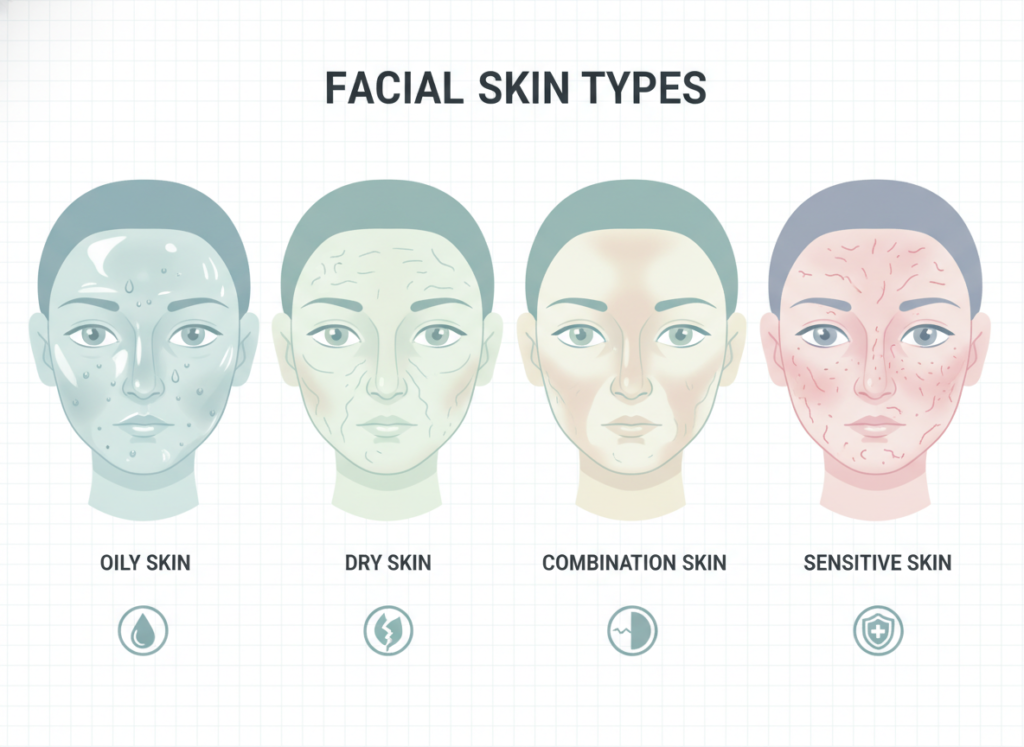
Selecting the right face mask begins with knowing your skin type. Each skin type responds differently to ingredients, and using the wrong combination can worsen existing problems.
Identifying Your Skin Characteristics
Oily skin produces excess sebum throughout the day. You’ll notice shine on your forehead, nose, and chin within hours of washing. Pores appear larger and you’re more prone to breakouts and blackheads.
Dry skin feels tight after cleansing. It may show flaking, rough patches, or fine lines. Your skin absorbs moisturizer quickly and still feels thirsty.
Combination skin presents challenges in different zones. Your T-zone gets oily while cheeks remain normal or dry. This requires balanced ingredients that address both concerns.
Sensitive skin reacts easily to new products. Redness, burning, or itching signals inflammation. You need gentle ingredients without harsh acids or strong fragrances.
Skin Concerns Beyond Type
Acne-prone skin needs antibacterial ingredients. Look for masks that reduce inflammation while controlling oil without stripping natural moisture.
Hyperpigmentation requires brightening agents. Natural acids and vitamin C-rich ingredients gradually fade dark spots when used consistently.
Aging skin benefits from hydrating and firming masks. Ingredients that boost collagen production help maintain elasticity and reduce fine lines.
Essential Ingredients for Clear Skin Success
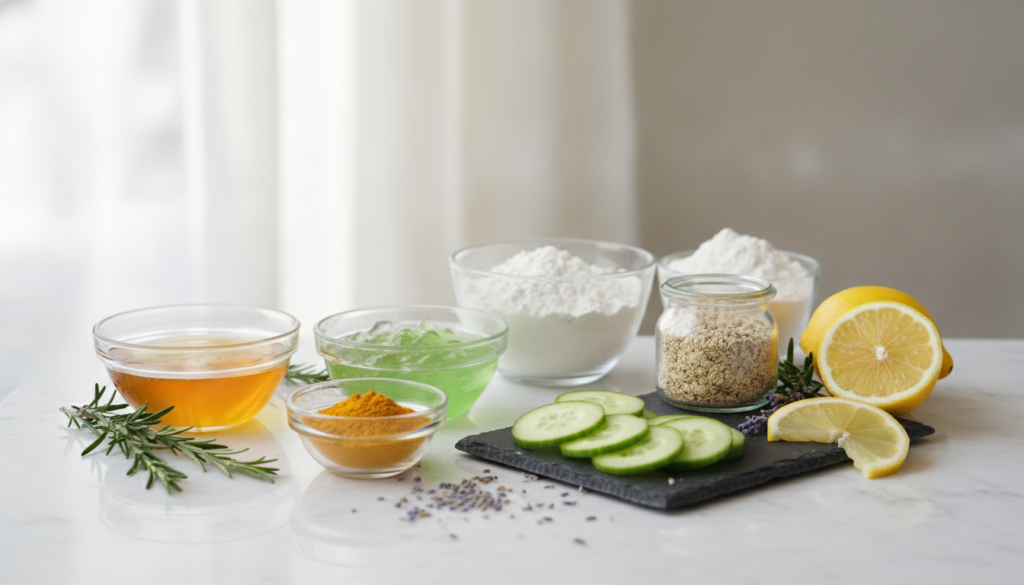
Natural ingredients offer concentrated benefits without synthetic additives. Understanding each component helps you customize masks for your specific needs.
Honey: Nature’s Antibacterial Powerhouse
Raw honey contains enzymes that fight bacteria naturally. It draws moisture into skin while its antimicrobial properties combat acne-causing bacteria. Honey also reduces inflammation and speeds healing of existing breakouts.
Use raw, unprocessed honey for maximum benefits. Processed honey loses many therapeutic properties during heating and filtering.
Clay: Deep Cleansing and Detoxification
Bentonite clay pulls impurities from pores like a magnet. It absorbs excess oil and dead skin cells while delivering minerals. Kaolin clay offers gentler cleansing for sensitive skin.
French green clay provides the strongest detoxifying action. Mix clay powder with warm water or apple cider vinegar to create smooth paste consistency.
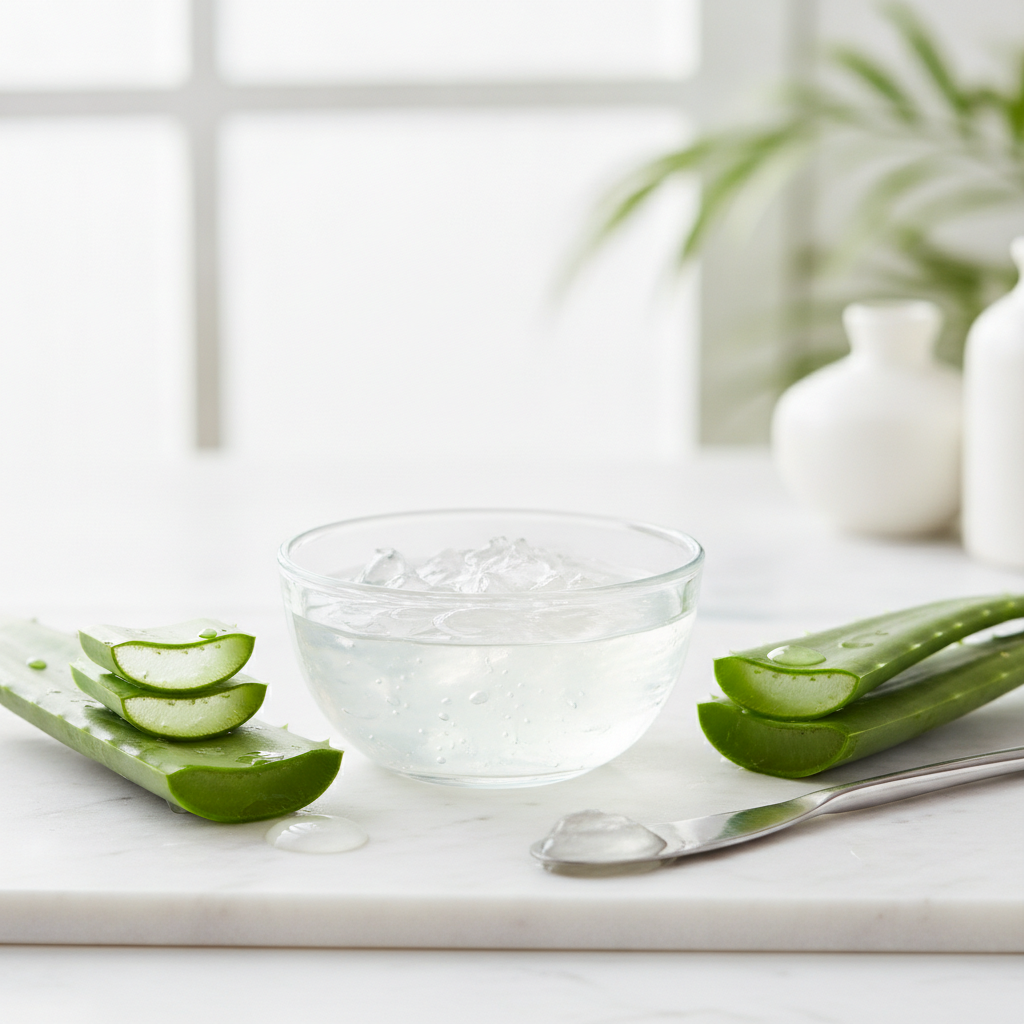
Aloe Vera: Soothing and Healing
Aloe vera gel calms irritated skin immediately. Its anti-inflammatory properties reduce redness while polysaccharides promote healing. Aloe vera also provides lightweight hydration without clogging pores.
Fresh aloe vera from the plant works best. Store-bought aloe vera gel should contain minimal additives for maximum effectiveness.
Lemon Juice: Natural Brightening Agent
Fresh lemon juice contains vitamin C and citric acid. These natural acids gently exfoliate dead skin cells while brightening dark spots. The astringent properties also help tighten pores.
Always dilute lemon juice with other ingredients. Pure lemon juice is too acidic for direct skin application and can cause irritation.
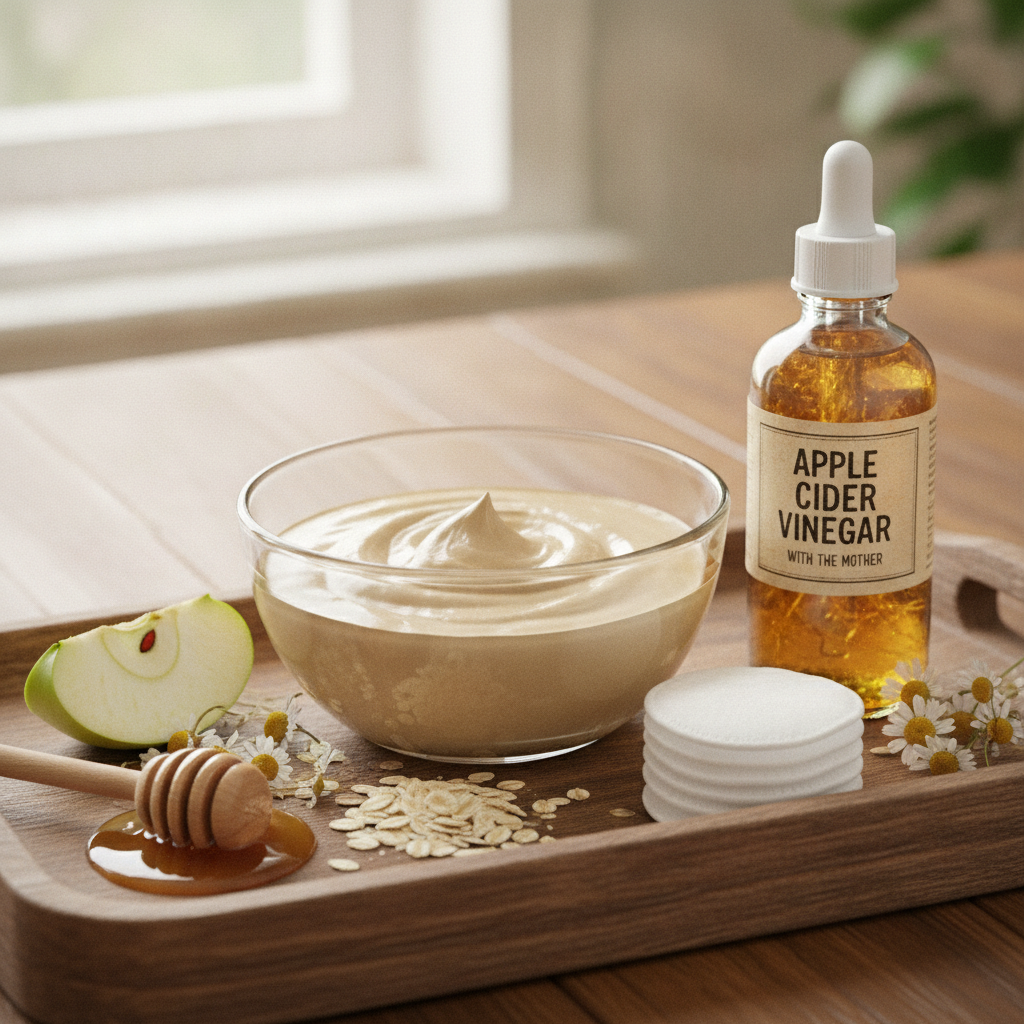
Apple Cider Vinegar: pH Balancing Toner
Apple cider vinegar restores skin’s natural pH balance. Its acetic acid content kills bacteria while alpha hydroxy acids exfoliate gently. This combination helps prevent breakouts and fade acne scars.
Use raw, unfiltered apple cider vinegar with “the mother” for beneficial enzymes and probiotics.
Hydrating Ingredients
Avocado provides healthy fats and vitamins
Cucumber delivers water and minerals
Yogurt offers probiotics and lactic acid
Coconut oil moisturizes deeply
Exfoliating Ingredients
Oatmeal gently removes dead skin cells
Coffee grounds stimulate circulation
Sugar crystals polish skin surface
Baking soda provides gentle abrasion
Benefits of Natural Face Masks for Your Skincare Routine
Incorporating homemade face masks into your skincare routine delivers benefits beyond clear skin. These natural treatments offer advantages you won’t find in commercial products.
Cost-Effective Skincare Solutions
DIY face masks cost a fraction of commercial products. Most ingredients already exist in your kitchen. A jar of honey or container of oatmeal creates dozens of masks.
Premium face masks from stores often cost twenty to fifty dollars per treatment. Homemade versions deliver comparable results for less than two dollars per application.
Complete Ingredient Control
You know exactly what touches your skin. No hidden preservatives, fragrances, or fillers. This transparency matters especially for sensitive skin or those avoiding certain chemicals.
Customization allows you to adjust recipes based on your skin’s changing needs. Add more hydrating ingredients during winter or increase clay for summer oil control.
Fresh, Potent Formulations
Homemade face masks contain active ingredients at peak potency. Commercial products lose effectiveness over time. Your fresh mask delivers maximum benefits from every application.
Natural ingredients haven’t been processed or stabilized. The vitamins, enzymes, and nutrients remain intact and bioavailable for your skin.
Want Professional-Grade Results at Home?
DIY masks provide excellent benefits, but combining them with a proven system accelerates your progress dramatically. Discover how thousands have achieved their clearest skin ever.
DIY masks eliminate plastic packaging waste. No shipping emissions or resource-intensive manufacturing. Your skincare routine becomes part of sustainable living.
Many commercial face masks contain microplastics or non-biodegradable ingredients. Natural masks break down harmlessly, protecting waterways and ecosystems.
Therapeutic Self-Care Ritual
Mixing and applying face masks becomes meditative. This intentional self-care reduces stress while improving your skin. The ritual itself provides mental health benefits beyond physical results.
Taking fifteen minutes for yourself signals self-worth. This regular practice of self-care strengthens your relationship with your body and appearance.
Simple DIY Face Mask Recipes for Acne-Prone Skin
Acne requires ingredients that fight bacteria, reduce inflammation, and control oil without over-drying. These recipes target breakouts while promoting healing.
Honey and Cinnamon Antibacterial Mask
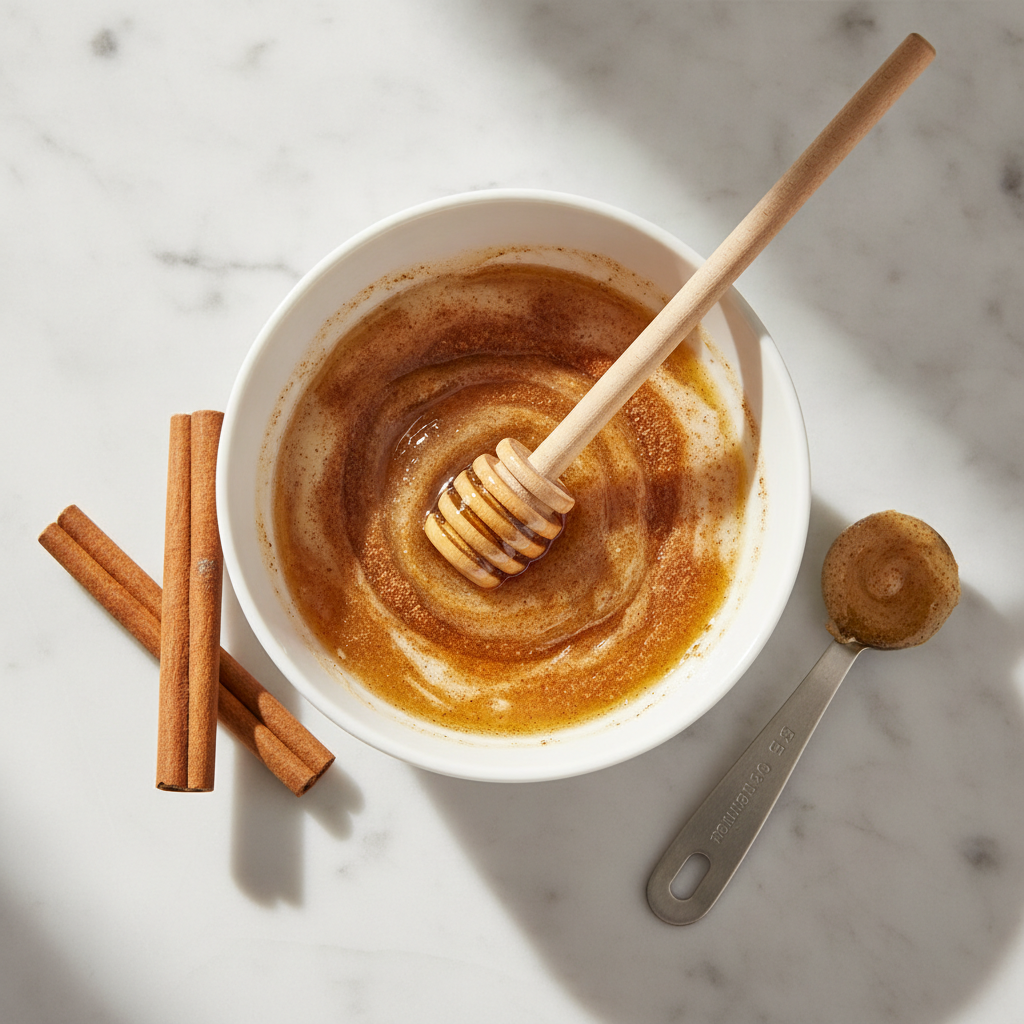
This powerful combination fights acne-causing bacteria naturally. Honey provides antibacterial properties while cinnamon improves circulation and adds antimicrobial benefits.
Ingredients:
Two tablespoons raw honey
One teaspoon cinnamon powder
Instructions:
Mix honey and cinnamon powder in a small bowl until you create smooth paste
Apply thick layer to clean face, avoiding eye area
Leave mask on for ten to fifteen minutes
Rinse thoroughly with warm water
Pat face dry and apply your regular moisturizer
Use this mask twice weekly for best results. The cinnamon may cause slight tingling, which is normal. Discontinue if you experience burning or excessive redness.
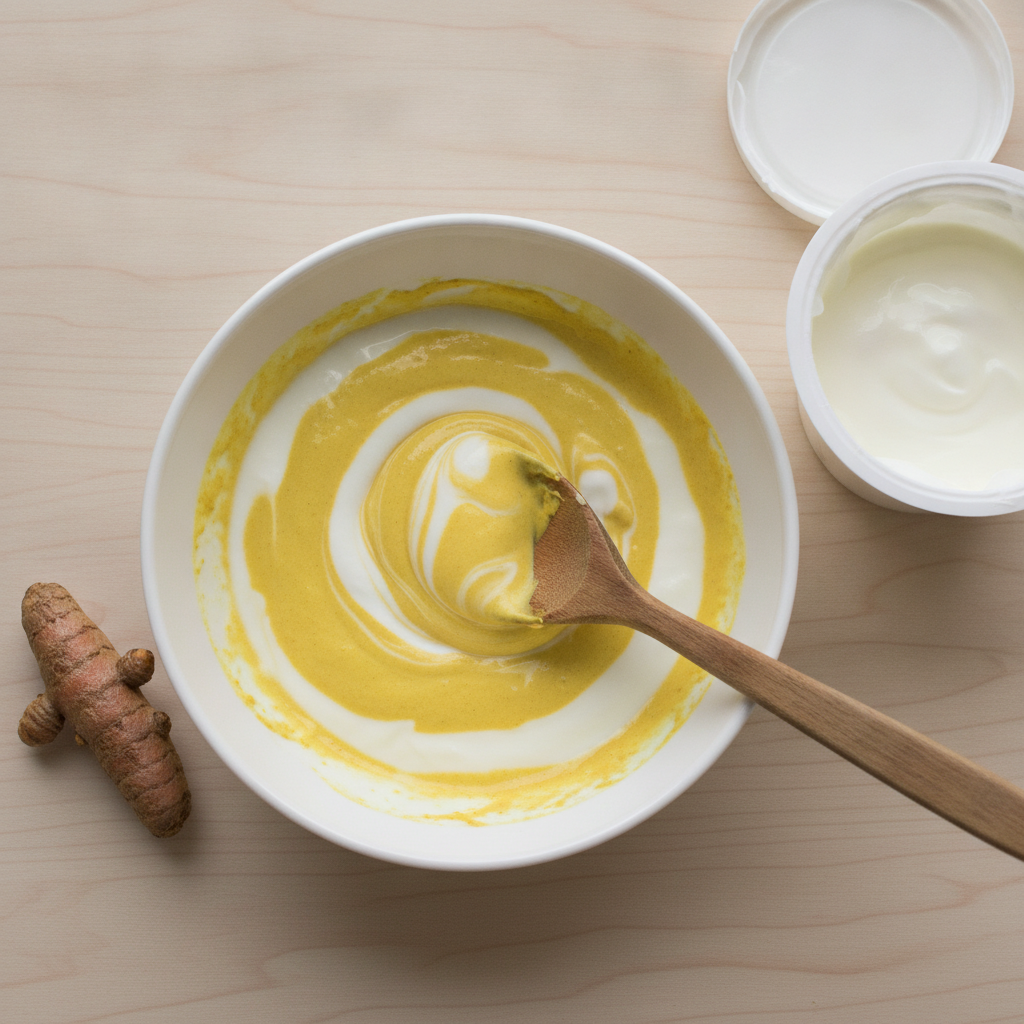
Turmeric and Yogurt Brightening Mask
Turmeric contains curcumin, a powerful anti-inflammatory compound. Combined with yogurt’s lactic acid, this mask reduces acne while fading post-inflammatory hyperpigmentation.
Ingredients:
One tablespoon plain yogurt
One-half teaspoon turmeric powder
One teaspoon honey
Instructions:
Combine all ingredients in bowl to form yellow paste
Apply evenly to clean skin
Leave mask for fifteen minutes
Gently massage in circular motions while rinsing with warm water
Follow with toner and moisturizer
Note that turmeric can temporarily stain skin slightly yellow. This fades within hours. Test on small area first if concerned about staining.
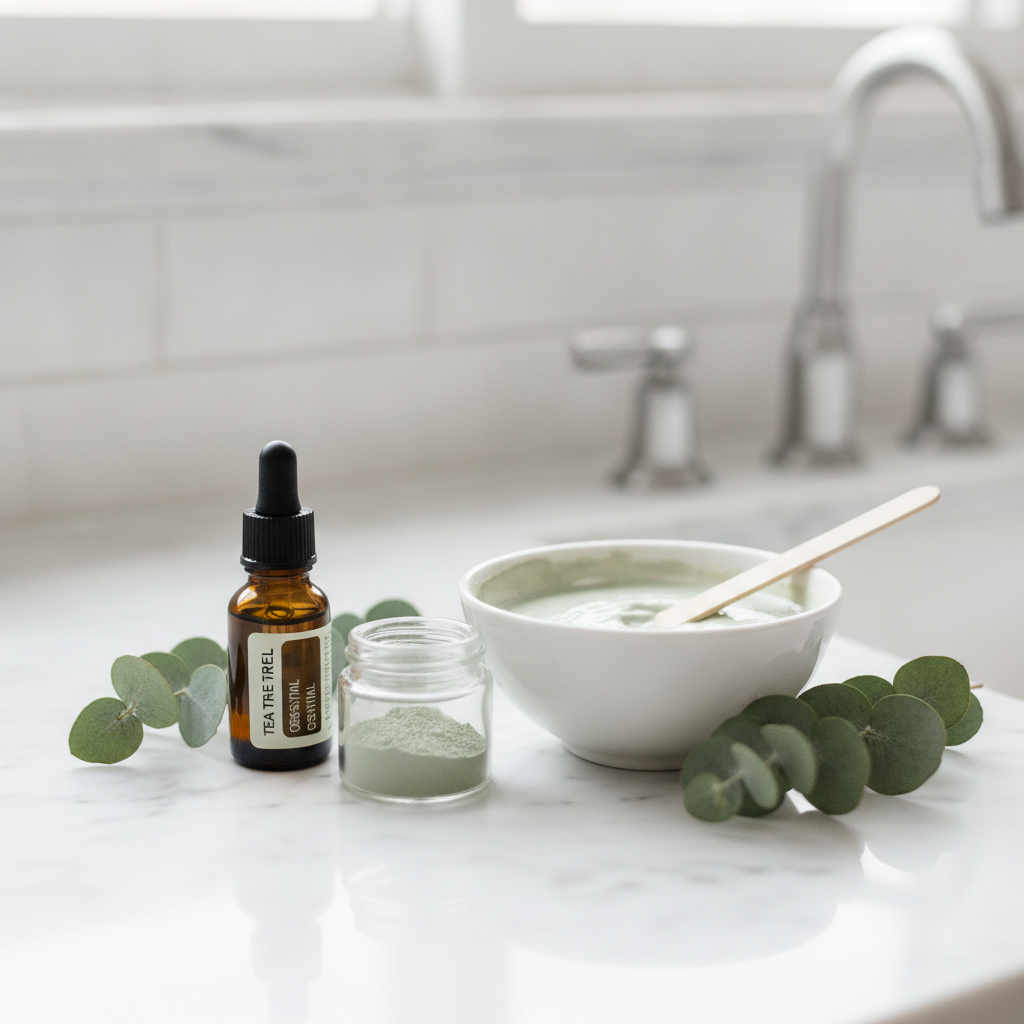
Tea Tree and Clay Purifying Mask
Tea tree oil kills acne bacteria effectively while bentonite clay draws out impurities. This combination deep-cleans pores and prevents future breakouts.
Ingredients:
Two tablespoons bentonite clay
Two to three tablespoons warm water
Three drops tea tree essential oil
One teaspoon apple cider vinegar
Instructions:
Mix clay with warm water and apple cider vinegar until smooth
Add tea tree oil and stir well
Apply thick layer to face using clean fingers or brush
Leave mask until almost dry, about ten minutes
Rinse with warm water before mask completely hardens
Clay masks work by pulling impurities to the surface. Some purging is normal as your skin detoxifies. Use once weekly initially, increasing to twice weekly as tolerated.
Hydrating Masks for Dry Skin Relief
Dry skin needs intensive moisture and barrier repair. These masks deliver deep hydration using ingredients that lock in water and nourish depleted skin.
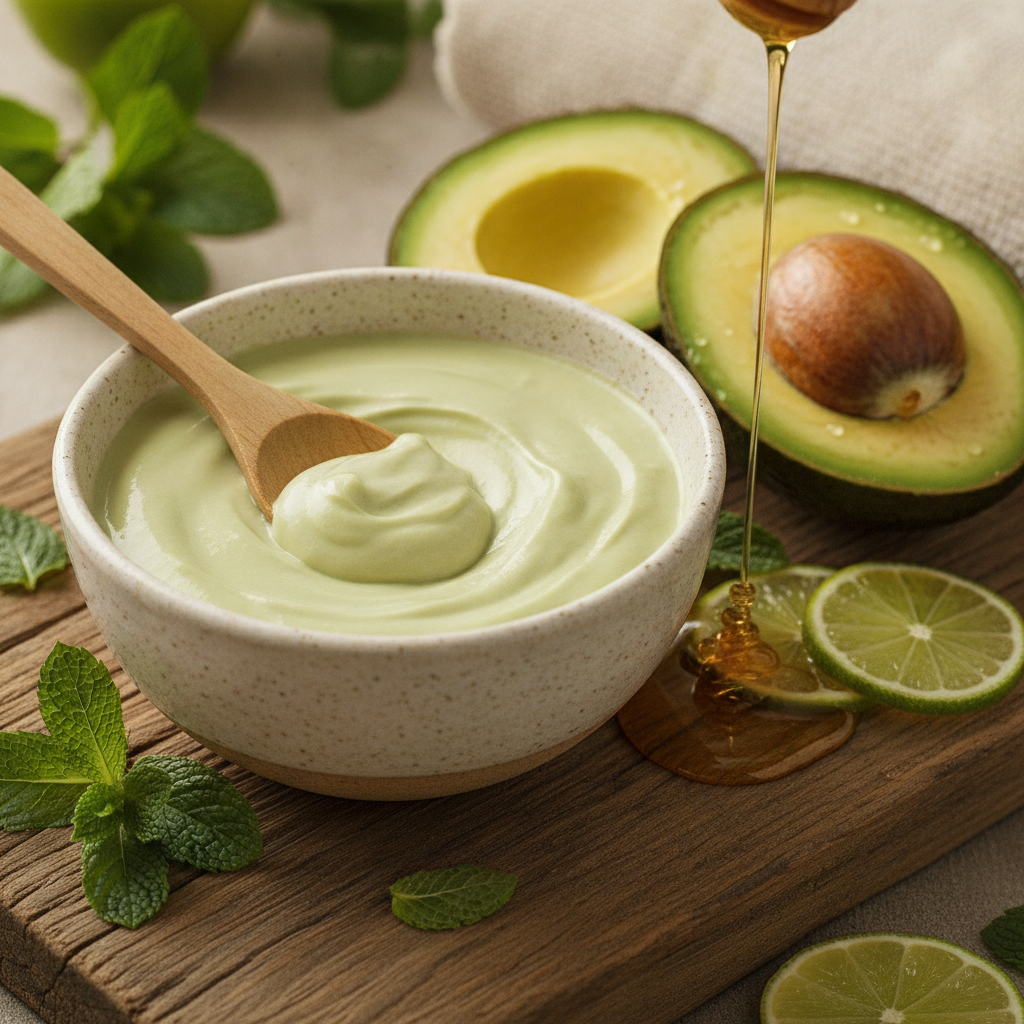
Avocado and Honey Nourishing Mask
Avocado provides healthy fats that replenish dry skin. Its vitamins E and C repair damage while honey seals in moisture for lasting hydration.
Ingredients:
One-half ripe avocado
One tablespoon raw honey
One teaspoon olive oil (optional for extra dryness)
Instructions:
Mash avocado until smooth and creamy
Mix in honey and olive oil thoroughly
Apply generous layer to clean face
Leave mask on for twenty minutes
Remove with warm water and soft cloth
This rich mask works beautifully for overnight hydration. Apply thicker layer and leave on for thirty minutes before rinsing. Your skin will feel soft and plump.
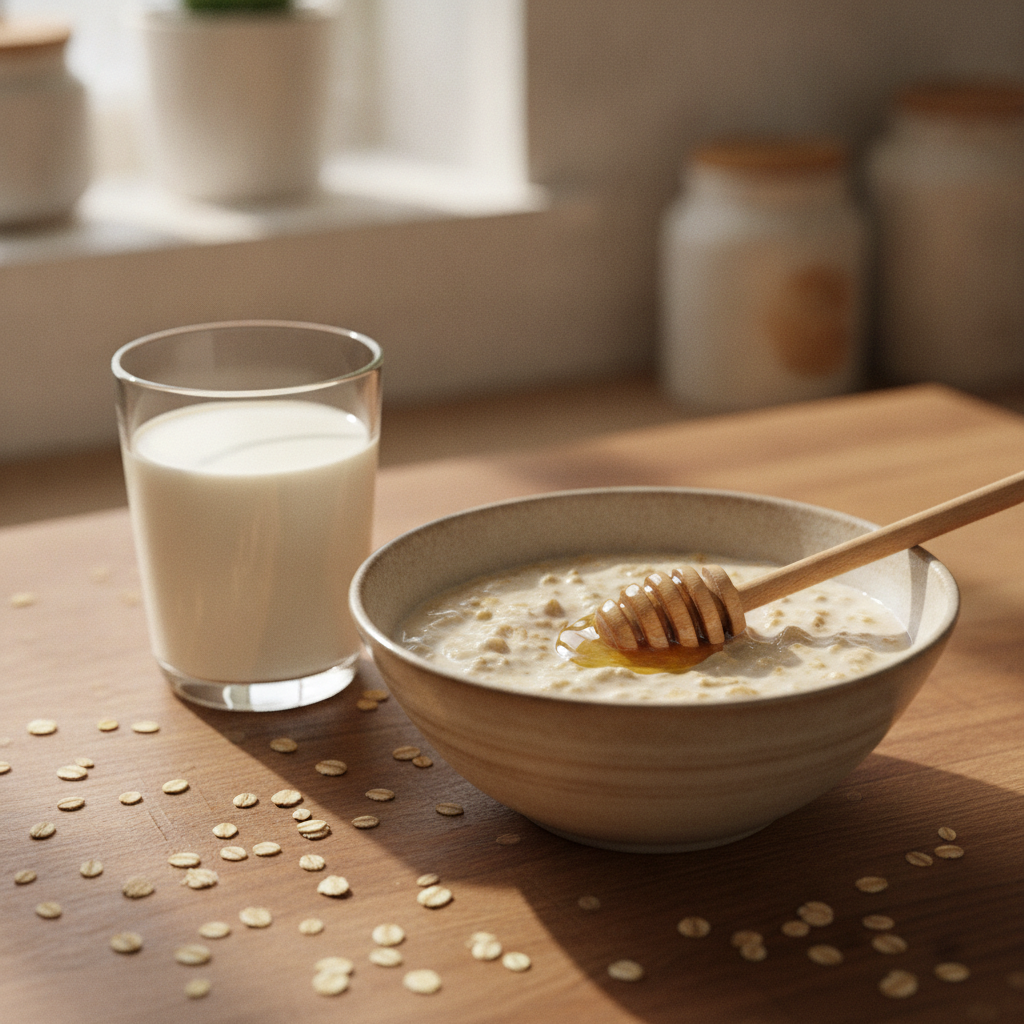
Oatmeal and Milk Soothing Mask
Oatmeal contains compounds that calm irritation and lock in moisture. Milk’s lactic acid gently exfoliates dead skin cells while proteins nourish.
Ingredients:
Three tablespoons ground oatmeal
Two tablespoons whole milk (or coconut milk for dairy-free)
One teaspoon honey
Instructions:
Grind oatmeal into fine powder using blender
Mix with milk and honey to form thick paste
Apply to face in gentle circular motions
Leave mask for fifteen to twenty minutes
Massage gently while rinsing to exfoliate
This gentle mask suits even the most sensitive dry skin. Use two to three times weekly for continuous hydration and protection.
Brightening Masks for Hyperpigmentation and Dark Spots
Uneven skin tone and dark spots require ingredients that inhibit melanin production while gently exfoliating. These masks gradually fade hyperpigmentation with consistent use.
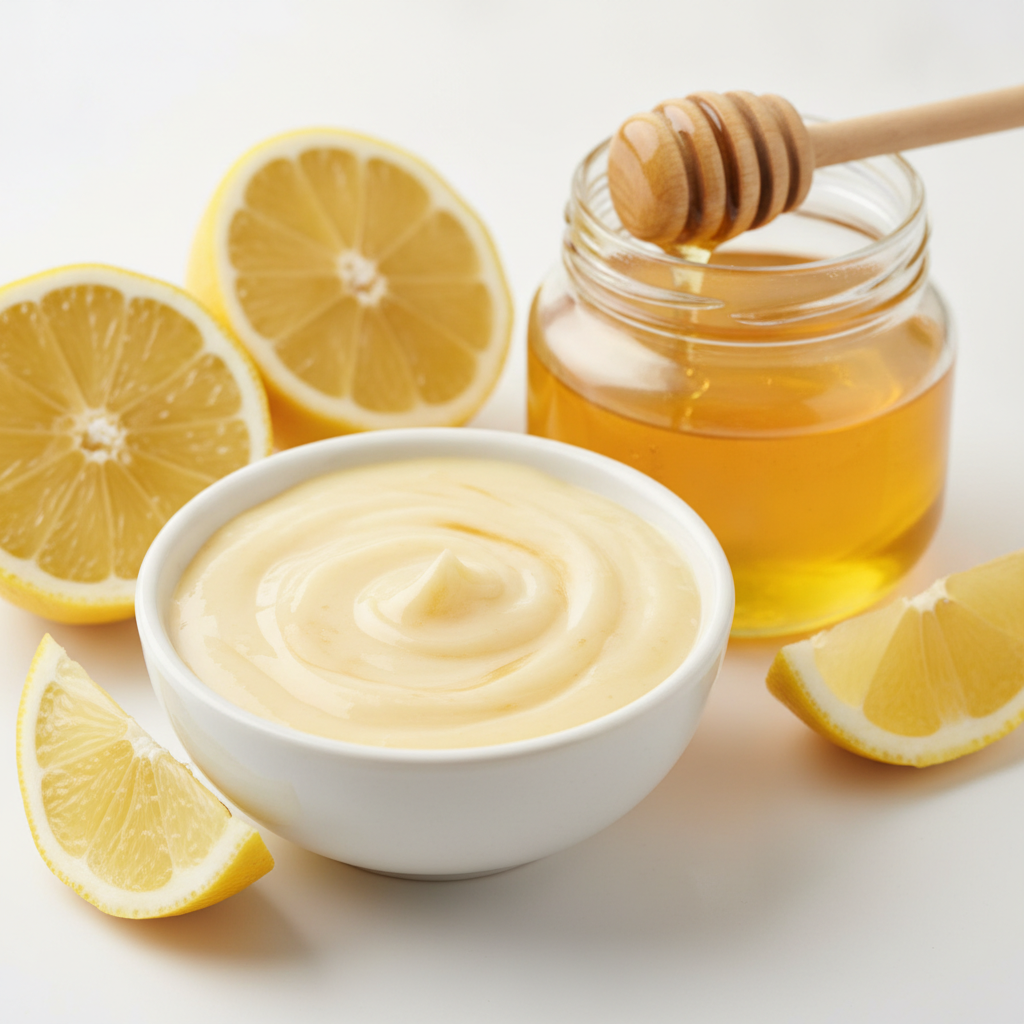
Lemon and Honey Vitamin C Mask
Lemon juice delivers natural vitamin C that brightens skin tone. Honey adds moisture and healing properties while buffering lemon’s acidity.
Ingredients:
One teaspoon lemon juice (freshly squeezed)
Two tablespoons raw honey
One teaspoon yogurt
Instructions:
Combine all ingredients in small bowl
Apply to clean face, concentrating on dark spots
Leave mask for ten to fifteen minutes maximum
Rinse thoroughly with cool water
Apply sunscreen if using during daytime
Never use lemon masks before sun exposure. The citric acid increases photosensitivity. Apply these masks in the evening and follow with SPF the next morning.
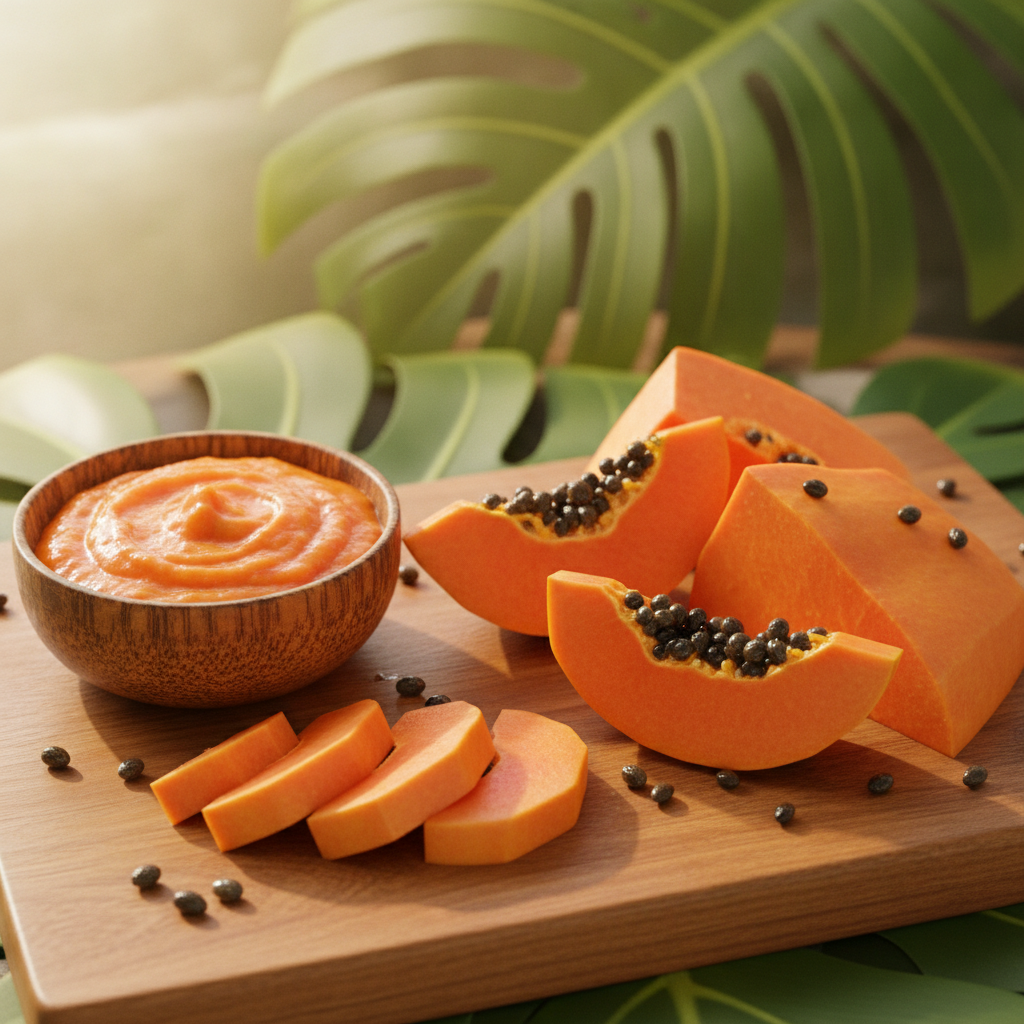
Papaya Enzyme Exfoliating Mask
Papaya contains papain enzyme that dissolves dead skin cells naturally. This gentle exfoliation reveals brighter skin while reducing the appearance of dark spots.
Ingredients:
One-quarter cup ripe papaya (mashed)
One tablespoon honey
One teaspoon lemon juice
Instructions:
Mash papaya into smooth puree
Mix in honey and lemon juice
Apply evenly to face and neck
Leave mask on for fifteen minutes
Rinse with cool water and pat dry
Use this mask once or twice weekly. You’ll notice gradual fading of dark spots over four to six weeks with consistent application.
Deep Cleansing Masks for Clogged Pores
Enlarged pores and blackheads need deep cleansing ingredients that extract impurities without harsh scrubbing. These masks work beneath the surface to clear congestion.
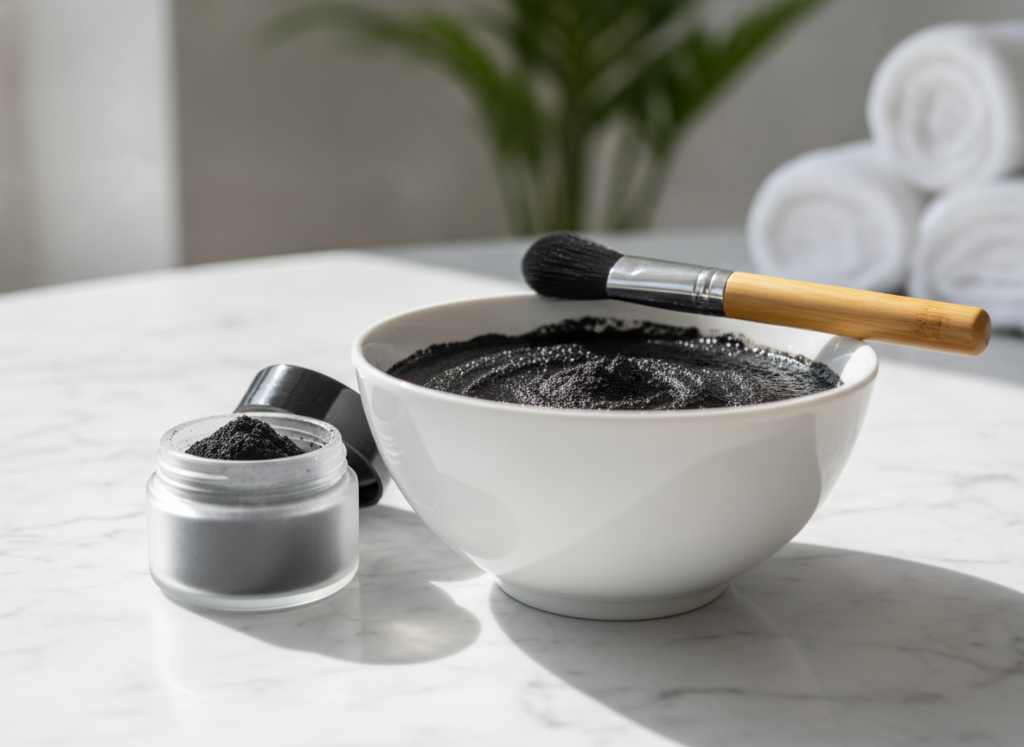
Activated Charcoal Detox Mask
Activated charcoal acts like a magnet for dirt and oil. It binds to impurities and pulls them from pores, leaving skin deeply cleansed without stripping.
Ingredients:
One teaspoon activated charcoal powder
One tablespoon bentonite clay
Two tablespoons warm water
One-half teaspoon tea tree oil
Instructions:
Mix charcoal and clay with warm water until smooth
Add tea tree oil and stir well
Apply thick layer focusing on congested areas
Leave mask for ten minutes (do not let completely dry)
Rinse thoroughly with warm water
Your skin may look slightly pink after removal. This normal reaction shows increased circulation. Follow with gentle toner and lightweight moisturizer.
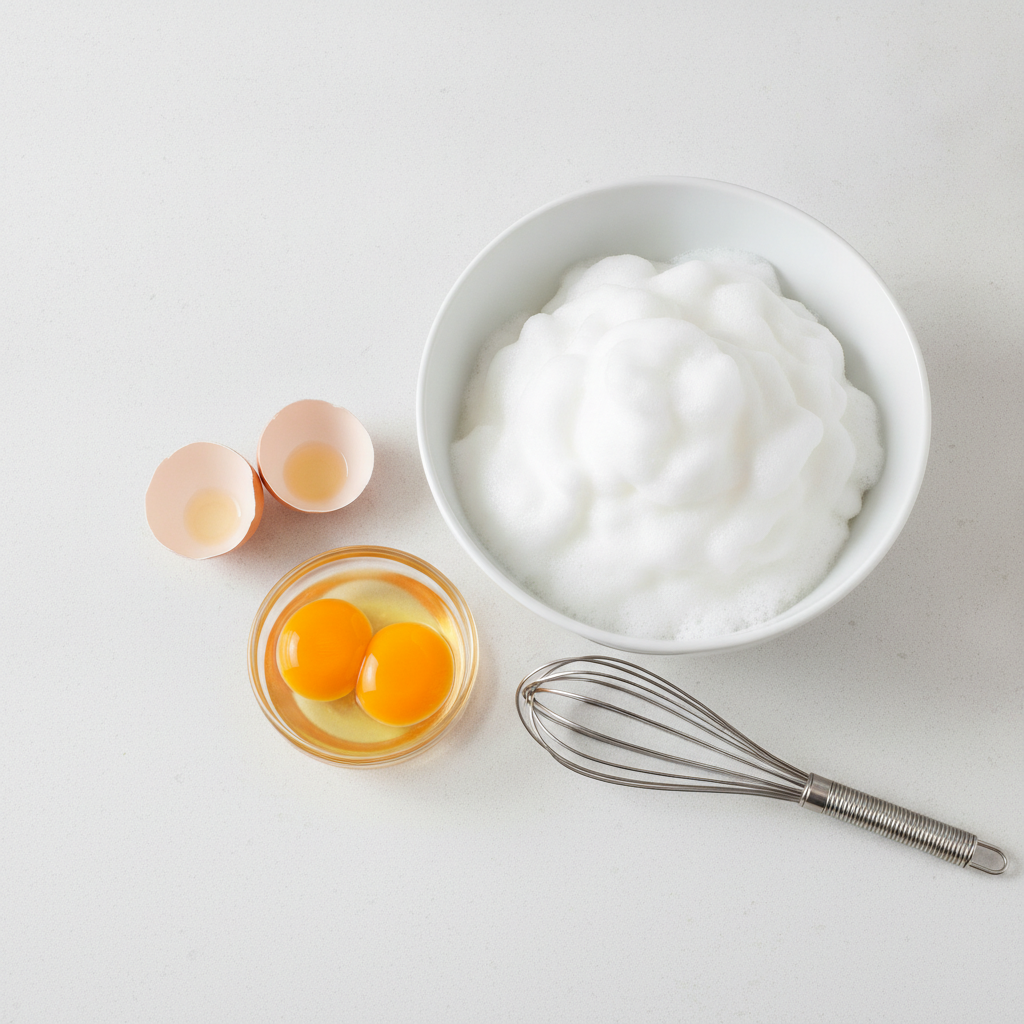
Egg White Pore Tightening Mask
Egg whites temporarily tighten pores while removing excess oil. The protein helps firm skin and creates smoother texture.
Ingredients:
One egg white
One teaspoon lemon juice
One-half teaspoon witch hazel (optional)
Instructions:
Separate egg white from yolk completely
Whisk egg white until slightly frothy
Mix in lemon juice and witch hazel
Apply thin layer to clean face
Let dry completely (about fifteen minutes)
Peel or rinse off with warm water
You’ll feel the mask tightening as it dries. This sensation is normal and shows the mask is working to minimize pore appearance.
Combine DIY Wisdom with Proven Protocols
These natural masks provide excellent foundation, but a comprehensive system addresses all aspects of clear skin. Discover the complete protocol that has transformed thousands of complexions.
Irritated, red skin requires gentle ingredients that calm inflammation and strengthen the skin barrier. These masks reduce redness while promoting healing.
Aloe Vera Cooling Mask
Pure aloe vera gel provides immediate relief for inflamed skin. Its anti-inflammatory compounds reduce redness while polysaccharides promote healing and hydration.
Ingredients:
Three tablespoons fresh aloe vera gel
One teaspoon cucumber juice
Two drops chamomile essential oil
Instructions:
Extract fresh gel from aloe vera leaf or use pure commercial gel
Blend cucumber and strain to collect juice
Mix aloe vera gel with cucumber juice and chamomile oil
Apply thick layer to affected areas
Leave mask on for twenty minutes
Rinse with cool water
Keep this mask refrigerated for extra cooling effect. Cold application further reduces inflammation and soothes irritation.
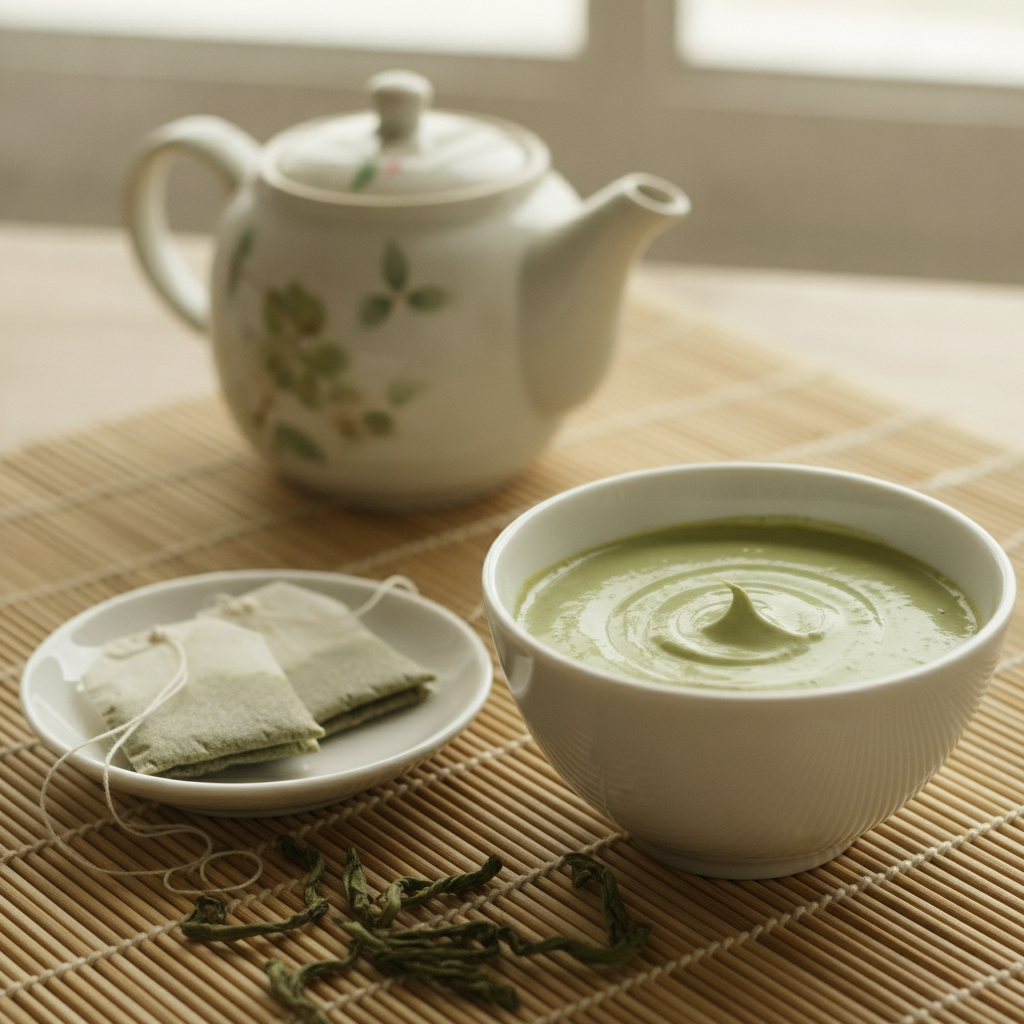
Green Tea Anti-Inflammatory Mask
Green tea contains powerful antioxidants that fight inflammation. EGCG compounds reduce redness and protect against environmental damage.
Ingredients:
Two green tea bags (or one tablespoon matcha powder)
Two tablespoons plain yogurt
One teaspoon honey
Instructions:
Steep tea bags in small amount of hot water for five minutes
Remove tea bags and let cool completely
Mix cooled tea (or matcha powder) with yogurt and honey
Apply to face, focusing on red areas
Leave mask for fifteen to twenty minutes
Rinse with lukewarm water
Use this calming mask two to three times weekly. The antioxidants provide protective benefits even after rinsing.
Anti-Bacterial Masks for Preventing Breakouts
Prevention is easier than treatment. These antibacterial masks keep pores clear and fight bacteria before breakouts form.
Apple Cider Vinegar Balancing Mask
Apple cider vinegar restores skin’s pH while killing acne-causing bacteria. Its alpha hydroxy acids prevent dead skin cells from clogging pores.
Ingredients:
One tablespoon apple cider vinegar
Two tablespoons bentonite clay
One tablespoon warm water
Instructions:
Mix clay with warm water until smooth
Add apple cider vinegar slowly while stirring
Apply to clean face avoiding eye area
Leave mask for eight to ten minutes
Rinse thoroughly with cool water
Start with once weekly application. Your skin may tingle slightly from the vinegar. This normal sensation indicates the mask is working.
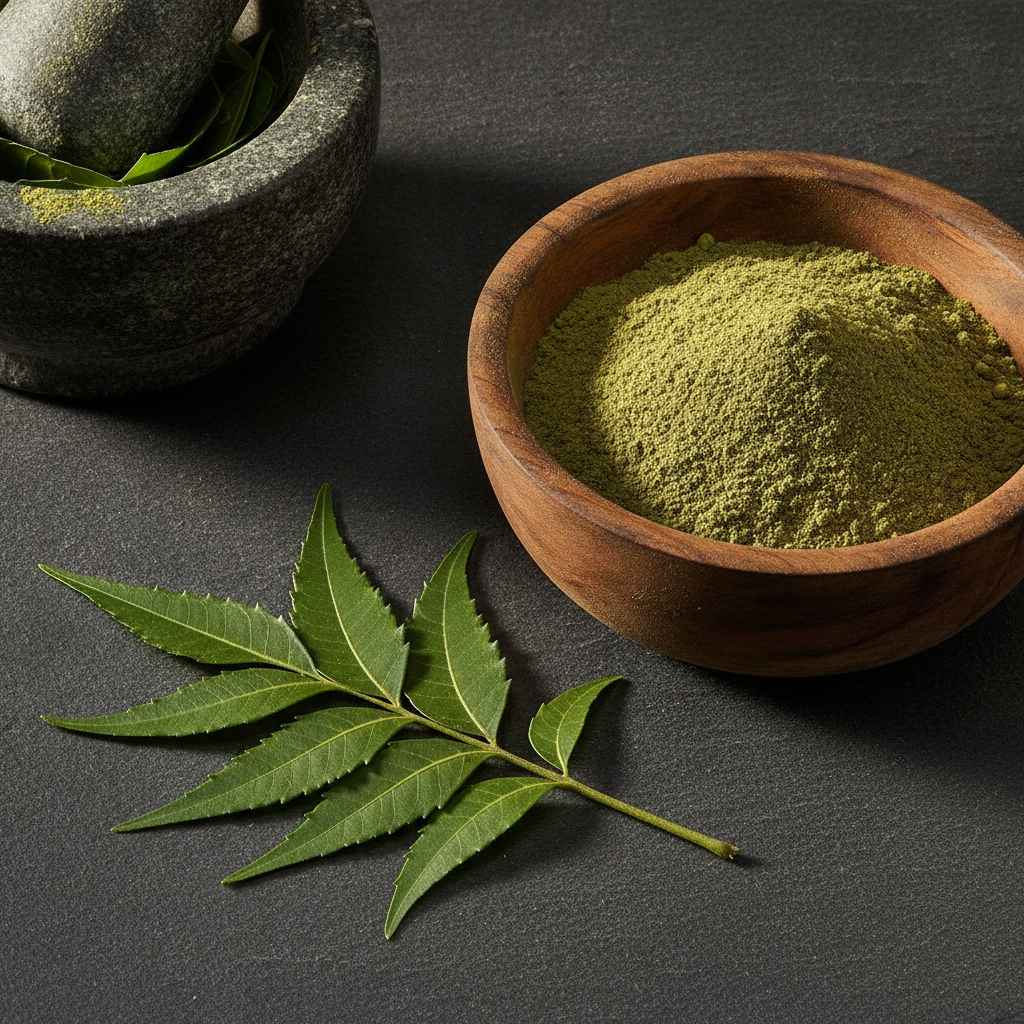
Neem and Turmeric Purifying Mask
Neem has been used in Ayurvedic medicine for centuries. Its powerful antibacterial properties prevent acne while turmeric reduces inflammation.
Ingredients:
One tablespoon neem powder
One-half teaspoon turmeric powder
Two tablespoons yogurt
One teaspoon honey
Instructions:
Combine neem and turmeric powder in bowl
Add yogurt and honey, mixing into smooth paste
Apply to entire face or spot-treat problem areas
Leave mask for fifteen minutes
Rinse with warm water using circular motions
This potent combination prevents bacteria growth while clearing existing breakouts. Use weekly as preventive maintenance.
Accelerate Your Clear Skin Journey Today
Ready to move beyond trial and error? Access the proven system that eliminates guesswork and delivers results faster than DIY alone.
How to Apply Face Masks Properly for Maximum Benefits
Application technique affects results dramatically. Proper preparation and application ensure ingredients work effectively.
Preparing Your Skin
Start with thoroughly cleansed skin. Remove all makeup, dirt, and oil so mask ingredients can penetrate effectively. Use your regular cleanser and pat skin dry gently.
Steam opens pores for deeper absorption. Hold your face over a bowl of hot water for five minutes before applying mask. Drape a towel over your head to trap steam.
Exfoliate gently before masks that deliver nutrients. Skip exfoliation before clay or charcoal masks that already provide exfoliating action.
Application Technique
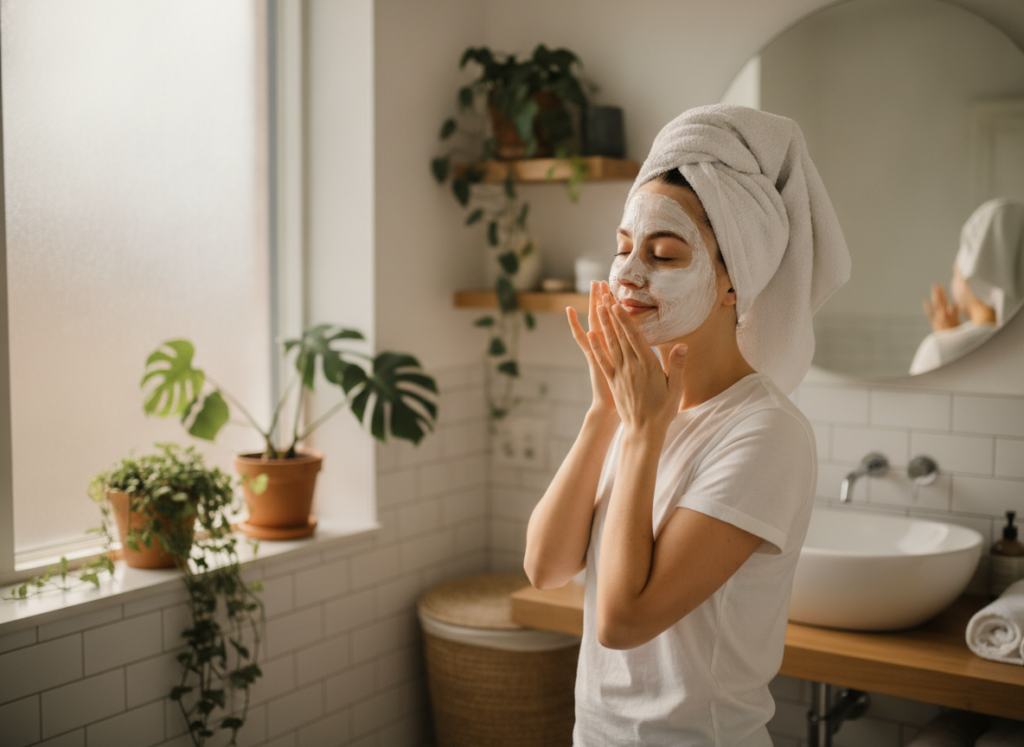
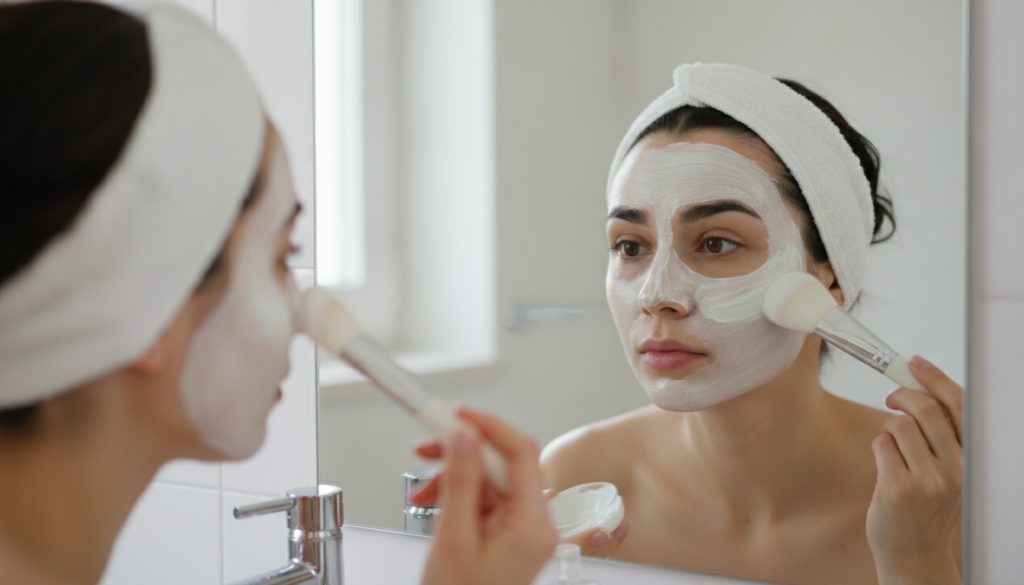
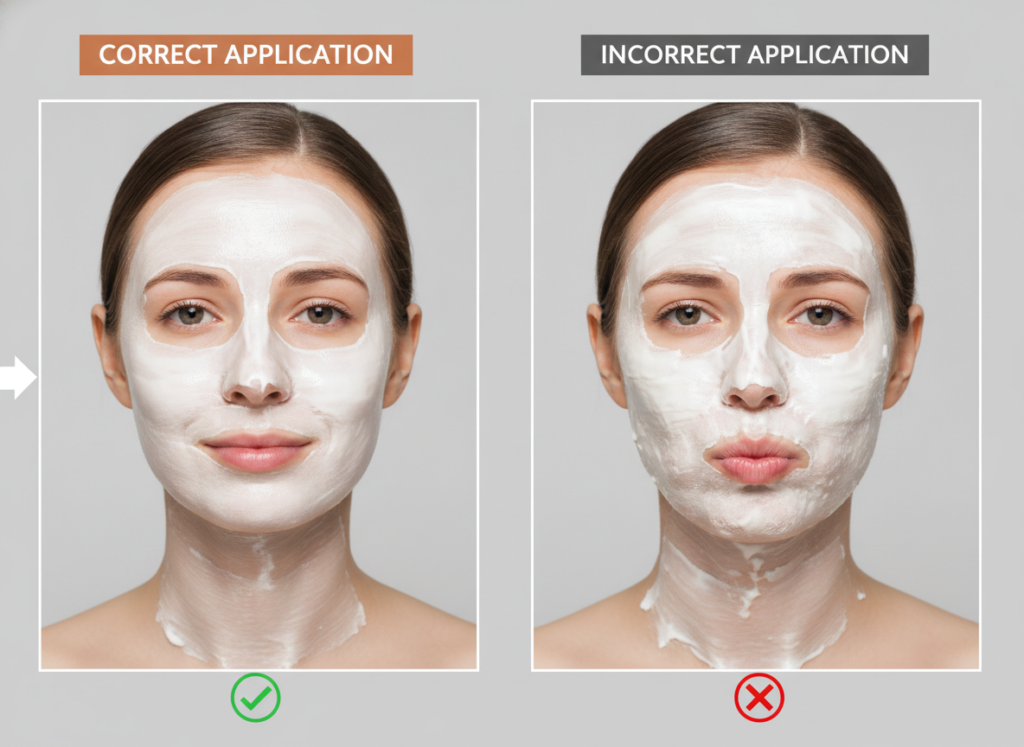
Use clean fingers, brush, or spatula for application. Apply masks in upward strokes following facial contours. This technique prevents pulling skin downward.
Create an even layer covering entire face. Thicker application works better for most masks, about one-eighth inch depth. Avoid getting mask in hairline, eyebrows, or around eyes.
Leave neck exposed or extend mask down to neck and chest for consistent treatment. These areas show aging signs too and benefit from mask treatments.
During Treatment
Lie down during mask treatment. Gravity pulls heavy masks downward when sitting or standing, creating uneven application and potentially causing sagging over time.
Set a timer for recommended duration. Over-leaving masks, especially clay types, can dry out skin excessively. Under-leaving prevents ingredients from working fully.
Stay still and relaxed. Facial movements crack clay masks and prevent even drying. Use this time for meditation or listening to calming music.
Proper Removal
Rinse with lukewarm warm water first. Hot water is too harsh, cold water doesn’t remove products effectively. Use gentle circular motions with fingertips or soft cloth.
Remove all traces of mask completely. Leftover residue can clog pores or cause irritation. Check hairline and jaw carefully where products often hide.
Pat skin dry gently with clean towel. Never rub vigorously as skin is more vulnerable immediately after masking.
Post-Mask Care
Apply toner immediately after patting dry. This restores pH balance and prepares skin for moisturizer absorption.
Follow with serum if using one. Freshly treated skin absorbs active ingredients more effectively.
Always moisturize after masks. Even oily skin needs hydration after treatment. Choose appropriate moisturizer for your skin type.
Creating Your Face Mask Routine Schedule
Consistency delivers better results than sporadic intensive treatments. Build a sustainable routine that fits your lifestyle and skin needs.
Weekly Schedule Template
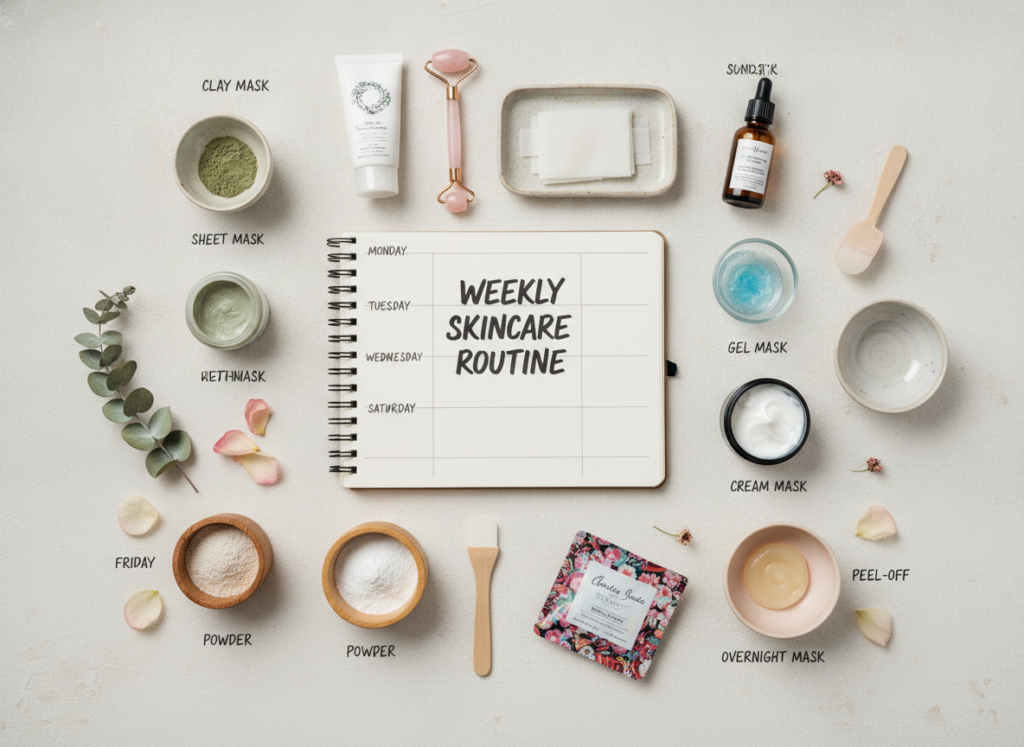
Most skin types benefit from two to three masks per week. Space treatments evenly for continuous improvement without overwhelming skin.
Normal to Oily Skin Schedule
Monday: Clay detox mask
Wednesday: Light hydrating mask
Friday: Exfoliating or brightening mask
Sunday: Treatment mask for specific concerns
Dry to Sensitive Skin Schedule
Tuesday: Deep hydrating mask
Thursday: Soothing anti-inflammatory mask
Saturday: Gentle nourishing mask
Avoid over-exfoliating masks
Adjusting Frequency
Start conservatively with once weekly application. Observe how your skin responds over two weeks before increasing frequency. Some ingredients are potent and need gradual introduction.
Increase to twice weekly if skin tolerates well. Add third weekly session only if needed for specific concerns like active breakouts or severe dryness.
Reduce frequency if irritation occurs. Redness, burning, or increased breakouts signal too much treatment. Scale back and let skin recover.
Seasonal Adjustments
Winter demands more hydration. Increase moisturizing masks and reduce clay or exfoliating treatments during cold months.
Summer requires oil control. Clay and charcoal masks help manage excess sebum production in humid weather. Reduce heavy oil-based masks.
Adjust based on indoor environment too. Central heating dries skin while air conditioning can trigger oil production. Match your routine to these factors.
Timing Your Sessions
Evening masks work best for most people. Skin repairs itself overnight, maximizing treatment benefits. You also avoid sun exposure after photosensitizing ingredients like lemon juice.
Morning masks can energize your routine. Apply quick hydrating masks after shower for plump, glowing skin before makeup application.
Weekend masks allow longer treatment times. Take advantage of relaxed schedule for twenty to thirty minute intensive treatments.
Common Mistakes to Avoid with DIY Face Masks
Even natural ingredients can cause problems when used incorrectly. Avoid these common mistakes that sabotage your results.
Using Harsh Ingredient Combinations
Never combine multiple acids in one mask. Lemon juice plus apple cider vinegar creates excessive acidity that damages skin barrier. Stick to one acidic ingredient per recipe.
Avoid mixing retinol products with DIY masks. The combination can cause severe irritation and redness. Use retinol on alternate nights from masking.
Test new ingredients individually first. Combining multiple new ingredients makes it impossible to identify which causes reaction if problems occur.
Leaving Masks On Too Long
Clay masks should never completely dry and crack. This over-dries skin and can cause broken capillaries. Rinse when mask feels tight but remains slightly damp.
Acid-based masks need shorter application times. Limit lemon or vinegar masks to ten to fifteen minutes maximum. Longer exposure increases irritation risk without added benefits.
Sleeping in masks designed for short-term use causes problems. Only use overnight masks specifically formulated for extended wear.
Skipping Patch Tests
Always test new ingredients on inner arm first. Apply small amount and wait twenty-four hours to check for reaction. This simple step prevents facial disasters.
Retest after recipe changes. Even minor adjustments can create new sensitivities. Better safe than sporting an inflamed face.
Don’t assume natural means non-allergenic. Many people react to supposedly gentle ingredients like honey or oats. Your skin’s response is unique.
Ignoring Expiration
Make fresh masks for each use. Most DIY masks lack preservatives and spoil quickly. Bacterial growth in old masks causes breakouts.
Refrigerate if making small batches. Most fresh masks keep two to three days maximum when properly stored in clean, sealed containers.
Watch for changes in color or smell. Discard any mask that looks or smells off. Rancid oils or fermented ingredients damage skin.
Over-Exfoliating
Limit physical exfoliation to twice weekly maximum. Sugar scrubs and oatmeal masks count as exfoliation. Over-scrubbing damages skin barrier.
Space chemical and physical exfoliation. Don’t use acids and scrubs in the same mask or routine. Choose one method per session.
Reduce exfoliation if using active skincare. Retinoids, AHAs, and BHAs in your regular routine mean you need less mask exfoliation.
Stop Guessing, Start Transforming
Eliminate trial and error with a proven protocol designed by skincare experts. Join thousands who have achieved their clearest, healthiest skin.
Face masks work best as part of comprehensive skincare approach. These strategies amplify and maintain your results.
Supporting Your Skin from Within
Hydration affects skin more than any topical product. Drink eight glasses of water daily minimum. Well-hydrated skin responds better to all treatments.
Nutrition shows on your face. Eat antioxidant-rich foods like berries, leafy greens, and nuts. Omega-3 fatty acids from fish reduce inflammation internally.
Quality sleep allows skin repair. Aim for seven to nine hours nightly. Your body produces collagen and repairs damage during deep sleep.
Consistent Daily Routine
Cleanse twice daily without exception. Morning cleansing removes overnight oil and dead skin cells. Evening cleansing eliminates daily accumulation.
Never skip moisturizer. Even oily skin needs hydration. Dehydrated skin produces more oil to compensate, worsening breakouts.
Sunscreen is non-negotiable. UV damage undermines all your mask efforts. Use broad-spectrum SPF 30 minimum every single day.
Tracking Your Progress
Take weekly photos in consistent lighting. You won’t notice gradual improvement without documentation. Photos reveal progress you might miss day-to-day.
Keep a skincare journal noting which masks you use and reactions. This helps identify what works best for your unique skin.
Measure results over four to six weeks minimum. Skin cell turnover takes time. Expect gradual improvement rather than overnight transformation.
Lifestyle Factors
Manage stress through meditation or exercise. Stress hormones trigger breakouts and inflammation. Regular stress management supports clear skin.
Clean your pillowcase twice weekly. Bacteria and oil accumulate on fabric and transfer back to your face nightly.
Avoid touching your face throughout the day. Your hands carry bacteria that cause breakouts. This simple habit prevents many skin problems.
When to Seek Professional Help
Severe acne needs dermatologist evaluation. DIY masks help mild to moderate breakouts but severe cases require prescription treatment.
Persistent skin conditions like rosacea or eczema need medical diagnosis. Home treatments can worsen these conditions without proper guidance.
Sudden changes in your skin warrant professional assessment. New moles, changing spots, or unusual symptoms should be evaluated promptly.
Your Clearest Skin Journey Starts Here
You’ve learned powerful DIY techniques, but why stop there? Discover the complete transformation system that combines natural wisdom with proven scientific protocols. Join the clear skin revolution today.
Patience creates lasting results. Quick fixes fade quickly while consistent effort compounds over time. Trust the process and maintain your routine.
Adjust as seasons and life changes. Your skin’s needs evolve with hormones, climate, and age. Stay flexible and responsive to these changes.
Celebrate small improvements. Clear skin is a journey, not a destination. Acknowledge progress along the way to stay motivated.
Share your knowledge with others. Teaching reinforces your own understanding and helps friends struggling with similar concerns.
Your Clear Skin Journey Begins Today
You now have the knowledge to create effective face masks using simple kitchen ingredients. These natural recipes offer powerful solutions for acne, dryness, hyperpigmentation, and congested pores.
Remember that consistency matters more than perfection. Start with one or two masks that address your primary concerns. Build your routine gradually as you discover what works best for your unique skin.
The ingredients in your kitchen hold remarkable potential. Honey fights bacteria naturally. Clay pulls impurities from deep within pores. Aloe vera soothes inflammation immediately. These simple substances work because they align with your skin’s natural processes.
Combine these DIY treatments with healthy lifestyle habits for comprehensive results. Proper hydration, quality sleep, and stress management amplify every mask you apply. Your skin reflects your overall wellness.
Track your progress through photos and journaling. Celebrate improvements along the way. Clear skin develops gradually through dedicated care and patience.
Start tonight with one simple recipe. Your journey to naturally clear, radiant skin begins with that first mask. The transformation you seek is absolutely within reach through these natural, accessible methods.